So, picture this scenario: I come back to my Airstream after a glorious day of hiking the most gorgeous canyon trails, where it was hot. And dusty. I’m exhausted, and all I want to do is take a real shower in my own home before kicking back for crispy time, to watch the sunset with a snack and a cocktail. Will I settle for a bird bath, maybe a full body wet wipe or the undependable camp ground showers? No!
I asked Ben Barker, amateur Airstream restorer, what he has done to make my dream possible.
Ben – why did you begin your foray into the plumbing systems with the shower drain in particular?
There are three drains in the Airstream – kitchen sink, bathroom sink, and shower. And I knew the shower would be the most involved. I started with its drain line, because, though I’ve never done this before, I understand it’s harder to run water drain lines than it is to run supply lines. Makes sense: drains use hard piping, with glued connections, so by nature they are more permanent and have less room for error! By contrast, we’ll use PEX tubing for water supply lines – PEX is pretty flexible and much more forgiving as it snakes its way around the trailer.
How did you plan for the work? Were you starting from scratch?
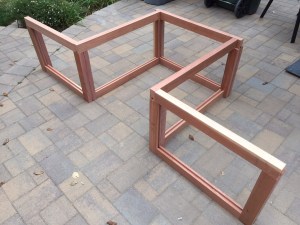
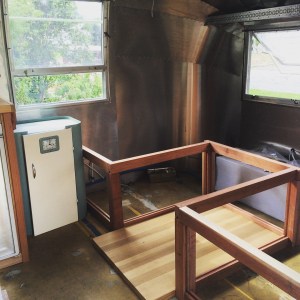
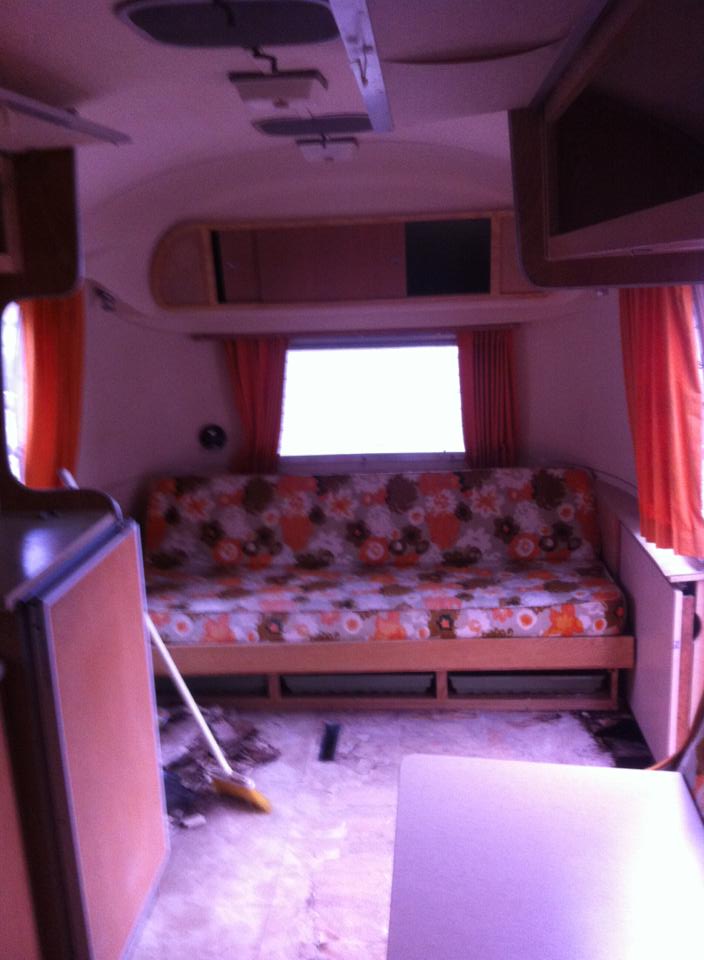
The gray water tanks and the main drain line from the tanks (located in the middle of the trailer, underneath on the axle) to the dump valve in the rear bumper of the trailer, were already installed. This existing main drain line would be like the main artery – the “drain highway” – so I planned out from there how and where to lay the shower and the shower drain. We had to work within the constraints of the bathroom size, the curves of the walls, the size of the water heater, how tall both Meg and I are, etc. as we finalized the location and the materials for the shower itself.

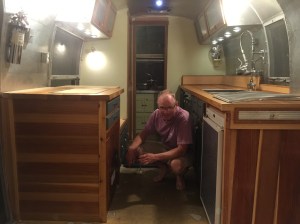
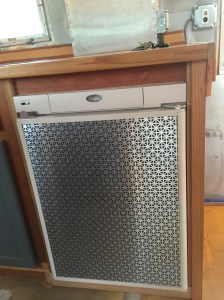
Bathroom layout from top: shower, water heater (sink will go on top), toilet
What did you do first? AND WHAT WAS IT LIKE CUTTING A HOLE IN THE BOTTOM OF THE AIRSTREAM?
First we put the newly acquired solid surface (Swanstone from Lowe’s) shower pan into position. For some reason, and I’m not sure why, the shower has to drain directly into the drain highway (if the dump valve is closed, the water then diverts to the gray tanks.) For both the kitchen and the bathroom sinks, the water drains into the gray tanks via their separate pipes; when the tanks are emptied, the contents travel down the drain highway on their way to the dump valve near the rear bumper.

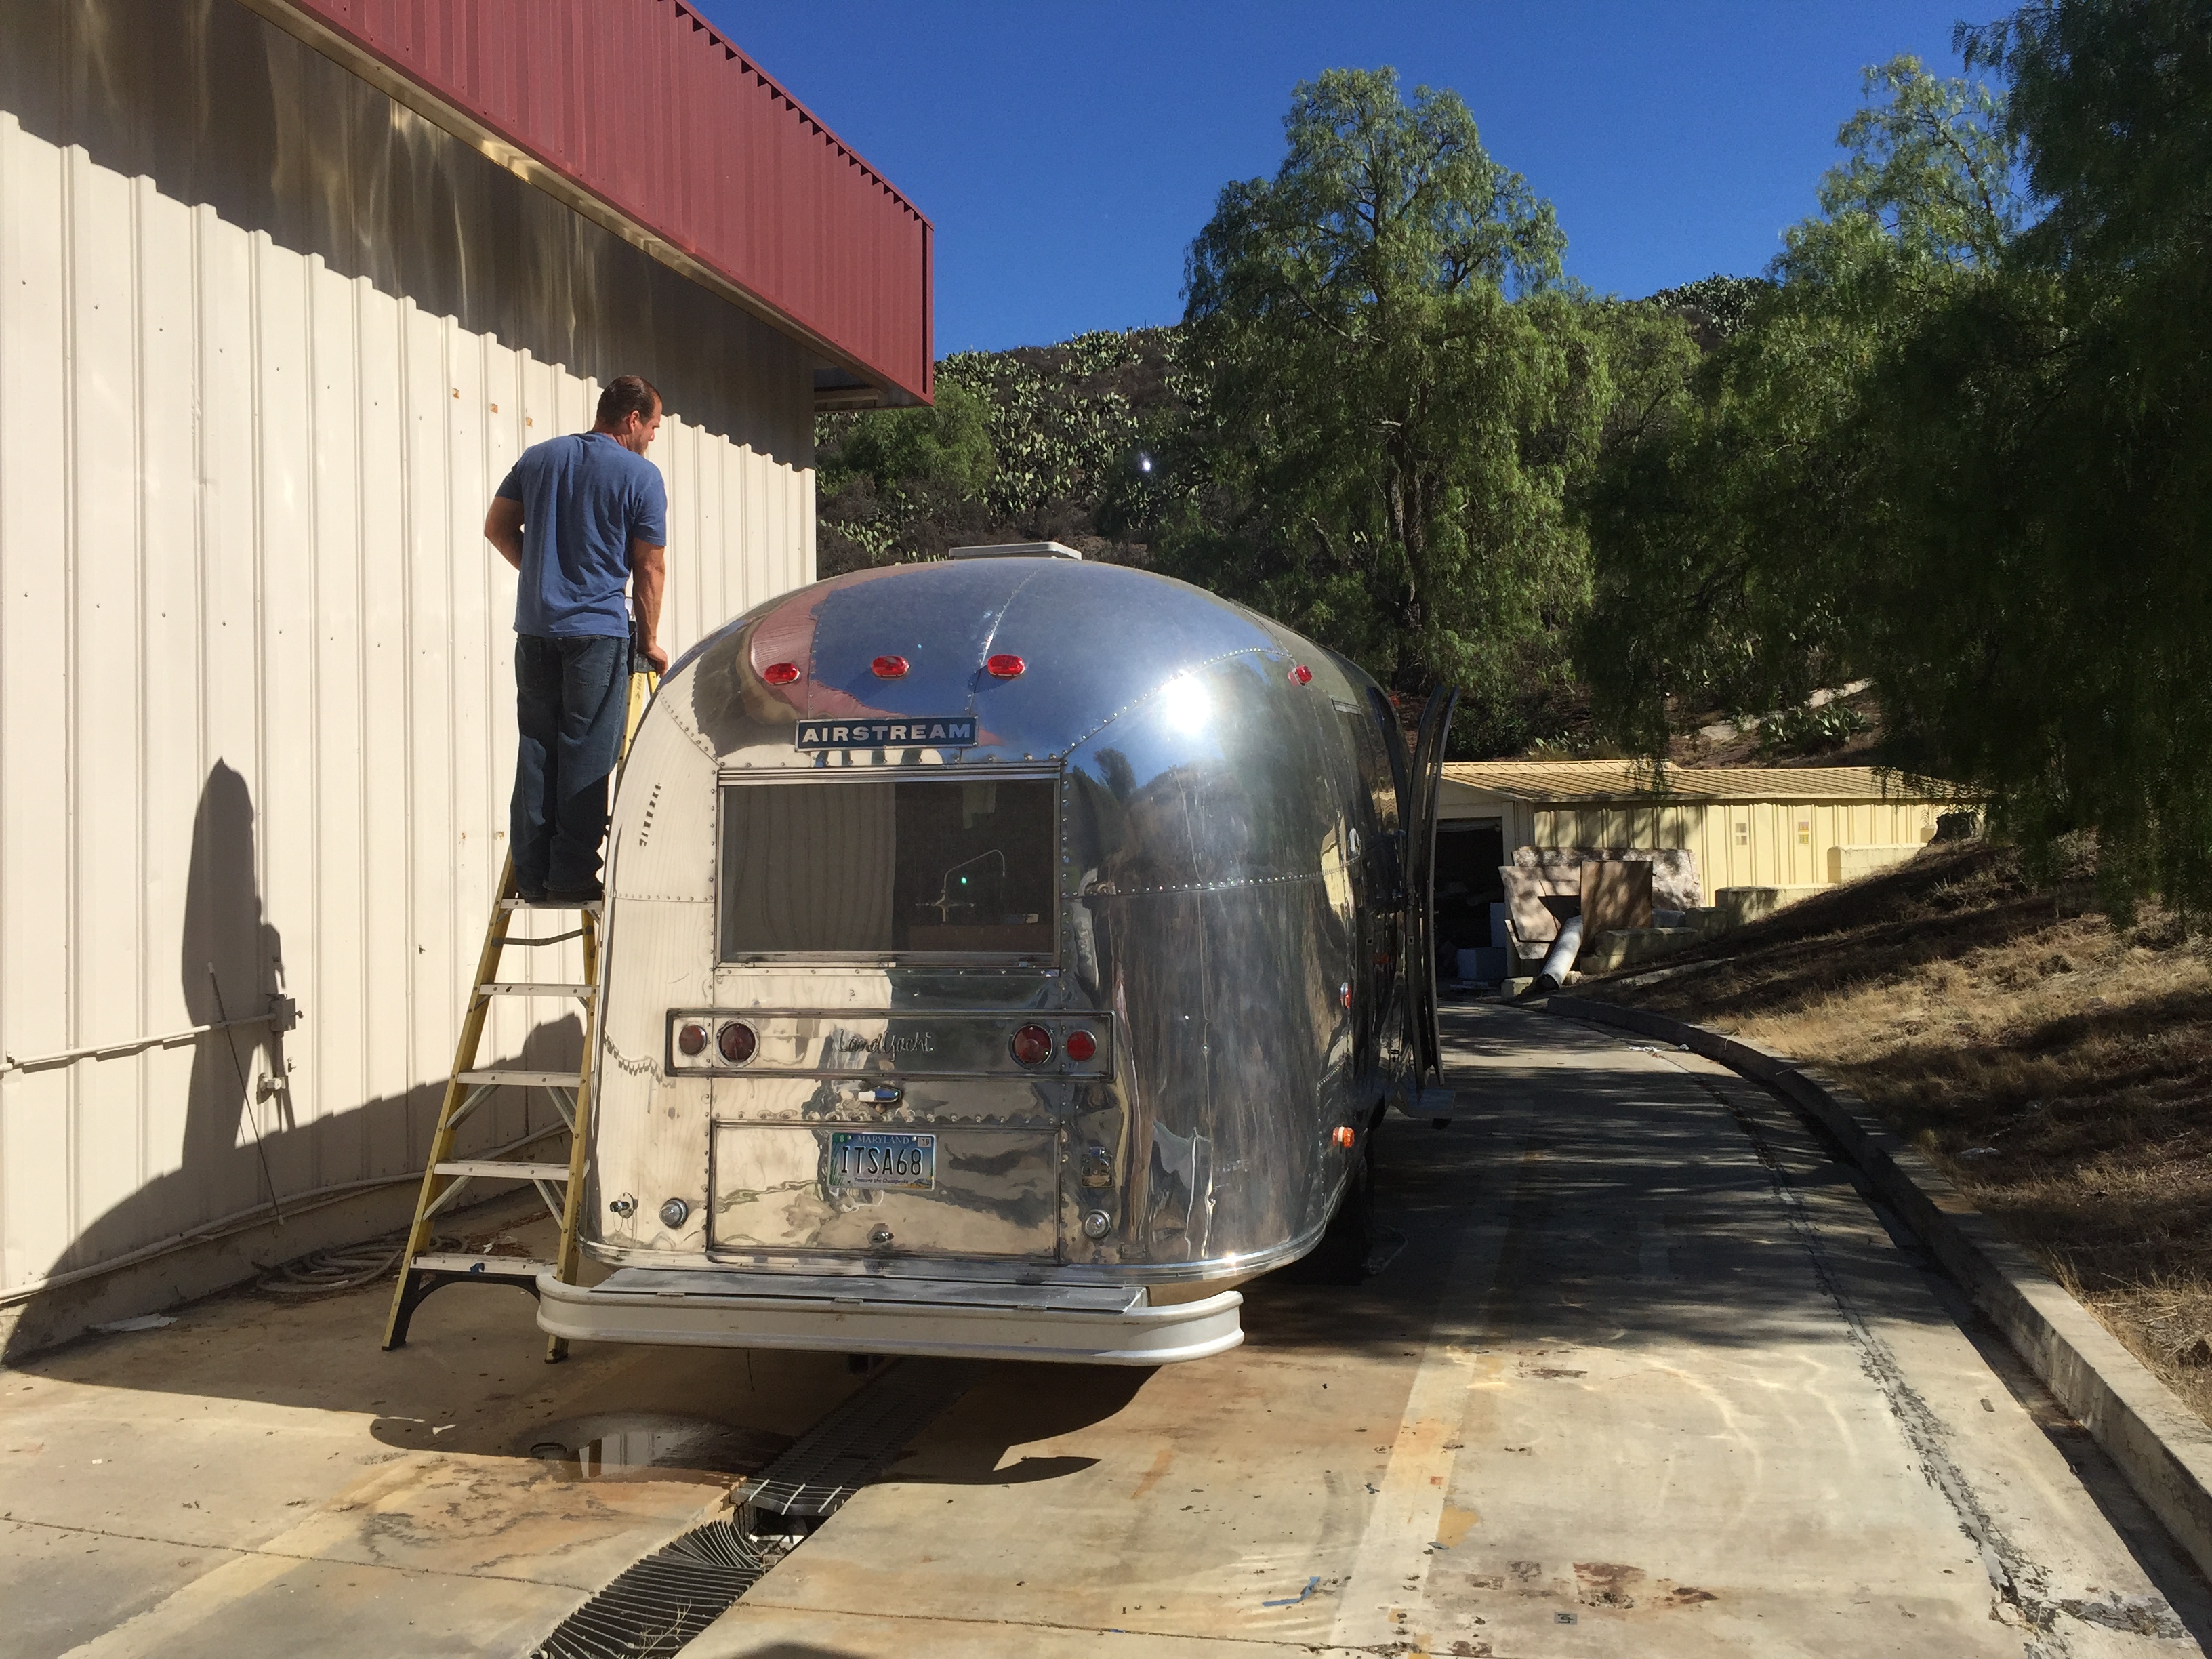
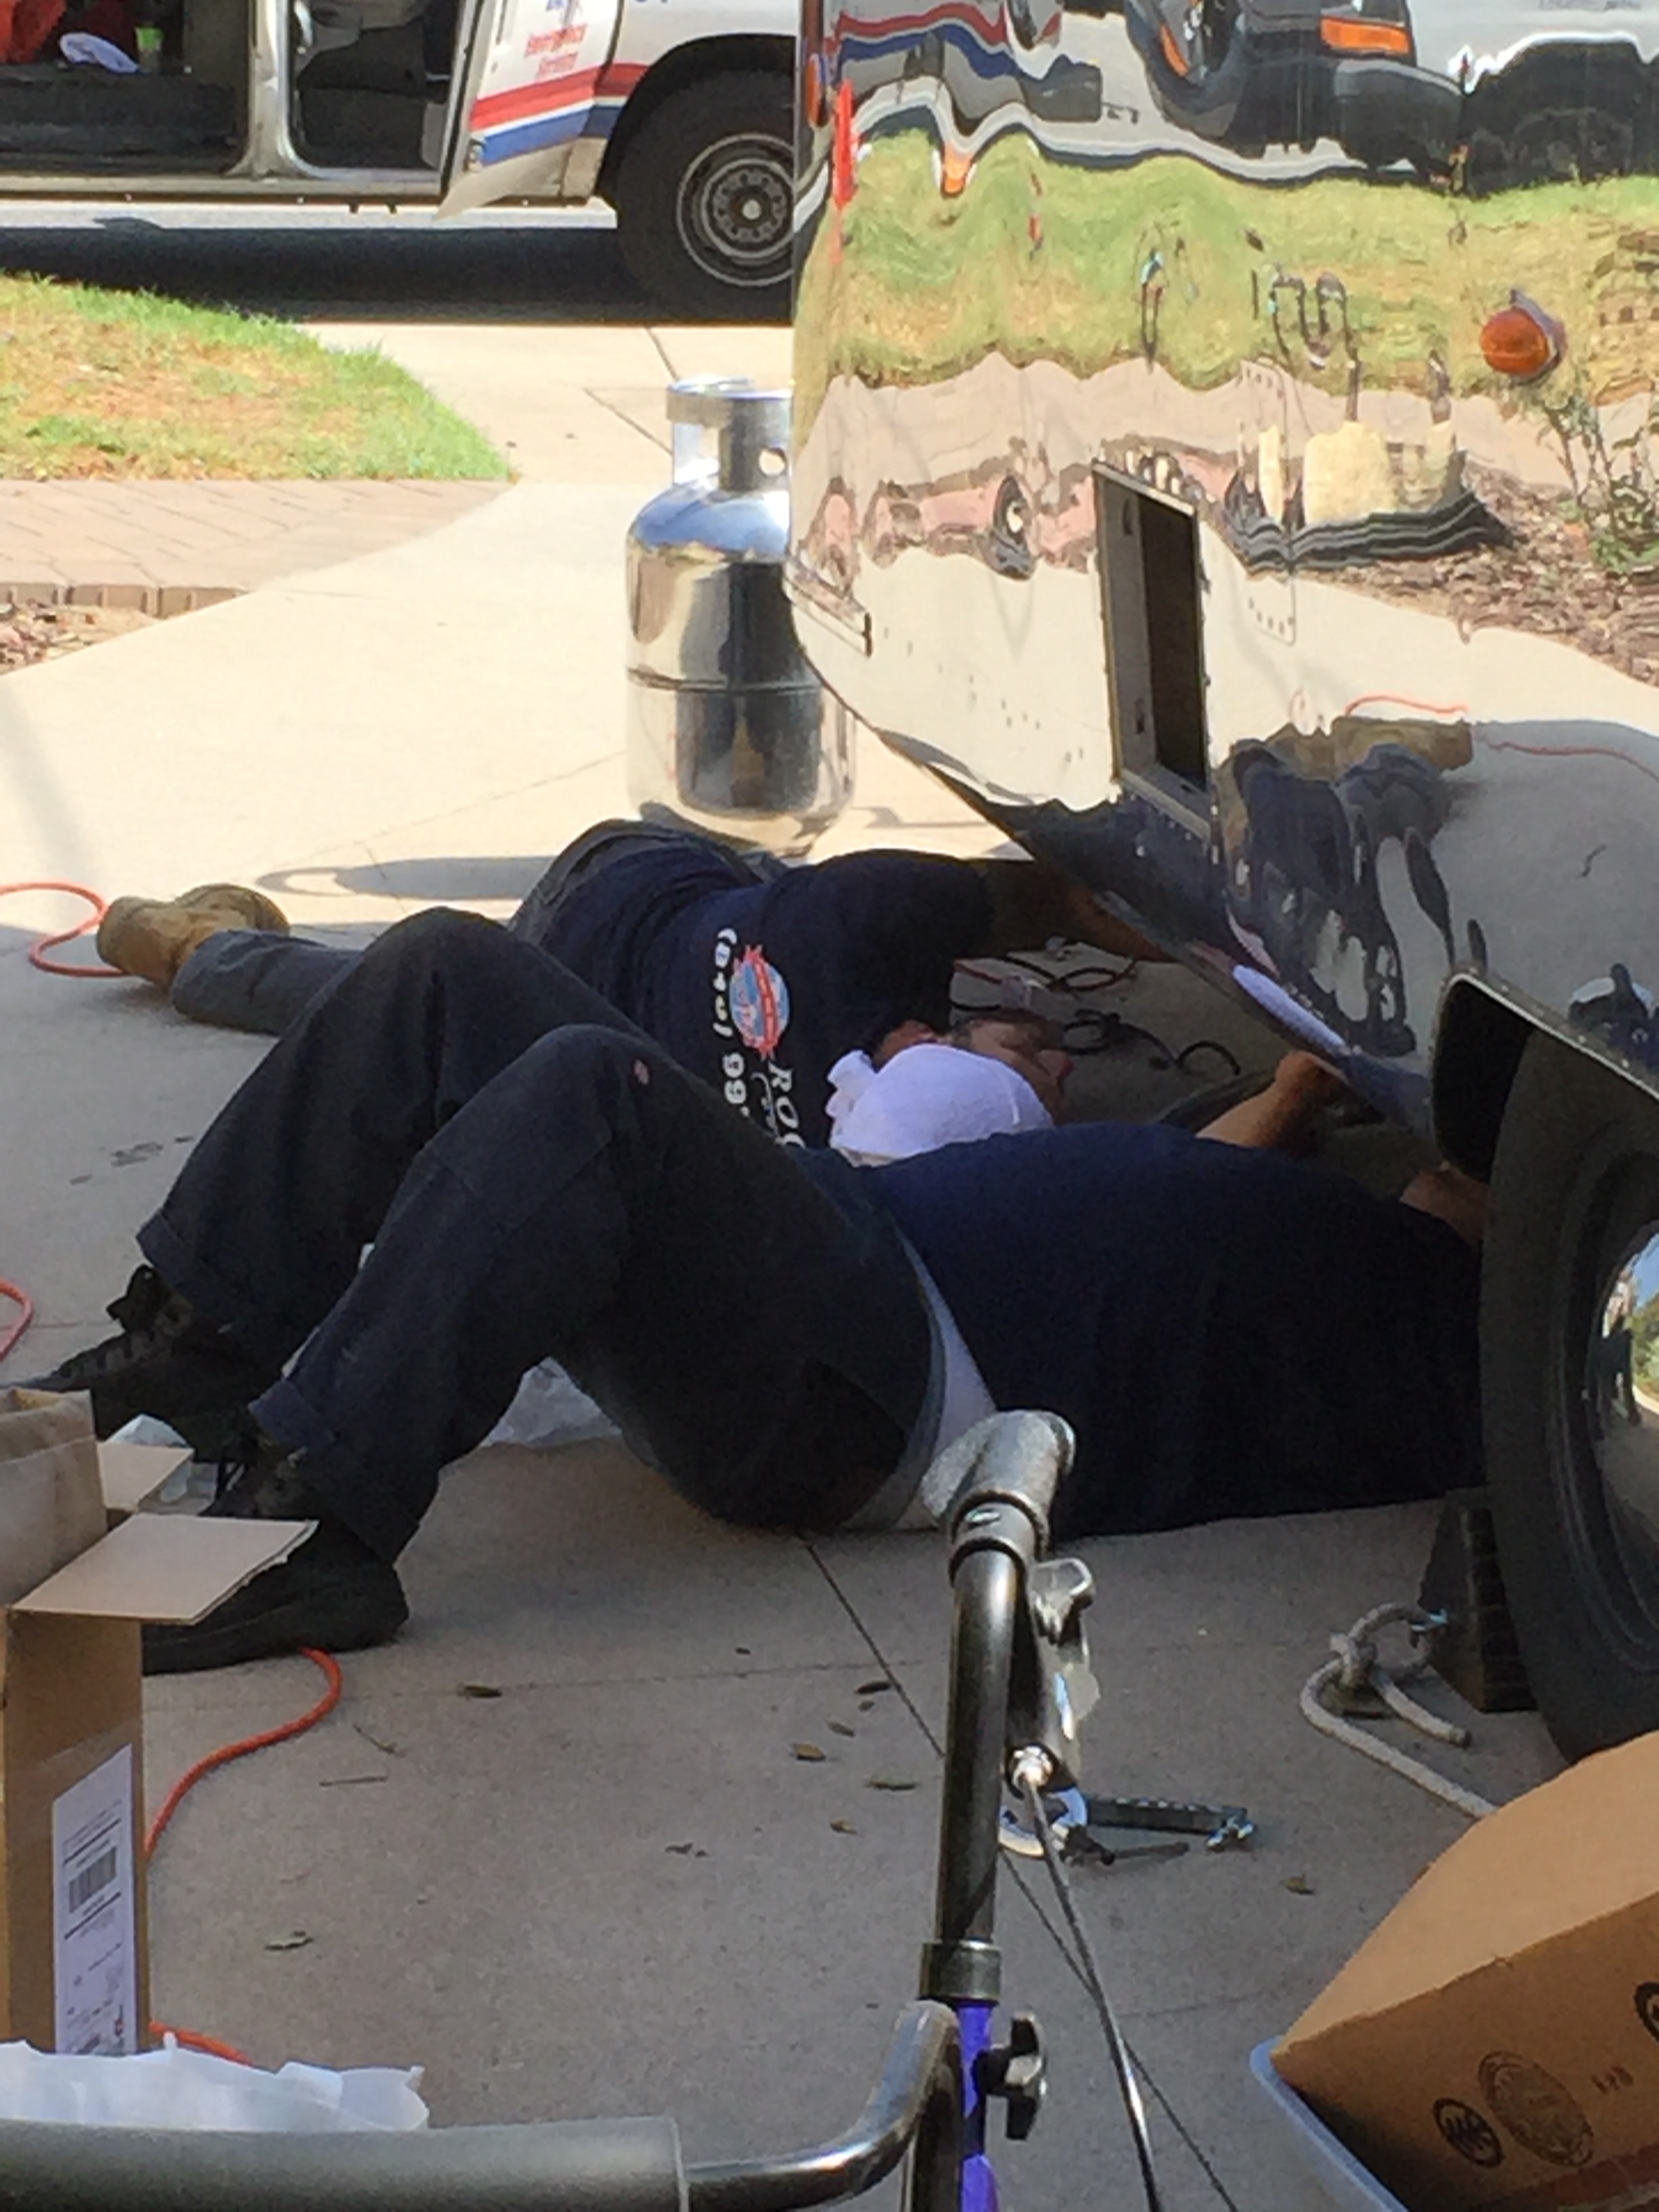
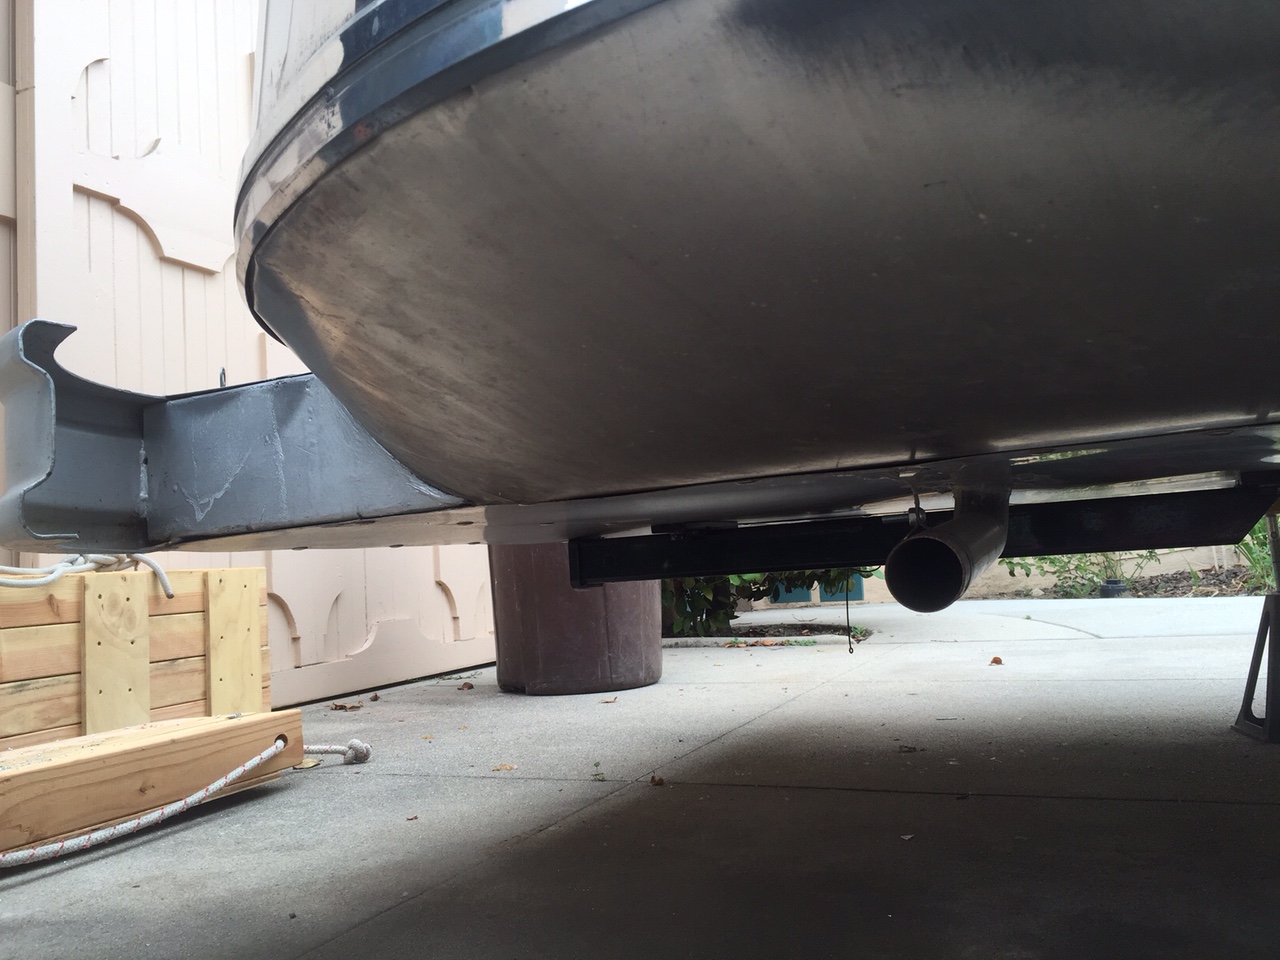
Ben underneath the Airstream, checking, installing, adjusting the plumbing.
Drilling holes in our fancy new Nyloboard subfloor always makes me a little nervous, but I told Meg there was no turning back, and I summoned the courage and boldness of all the amateur restorers before me and I drilled an exploratory hole in the middle of the shower drain, through the subfloor, hoping and praying the drill bit would emerge somewhere close to the main drain line I was trying to tap into (I had measured of course, but you never know). Then I went underneath the trailer to see how close: with the belly pan removed I could see that yes! the hole was close enough to the main drain line (and thankfully, hadn’t penetrated it!).
So, the rest was easy, right?
Riiiiiiiiiiight…I cut the main pipe to install a T fitting connecting the shower drain to the drain highway. Instead of using the traditional P trap, I used a device from Vintage Trailer Supply called a hepvo which is great for RVs. It’s a self-ventilating one-way valve which essentially keeps water or gases from coming back in once they’ve gone down the drain so to speak.
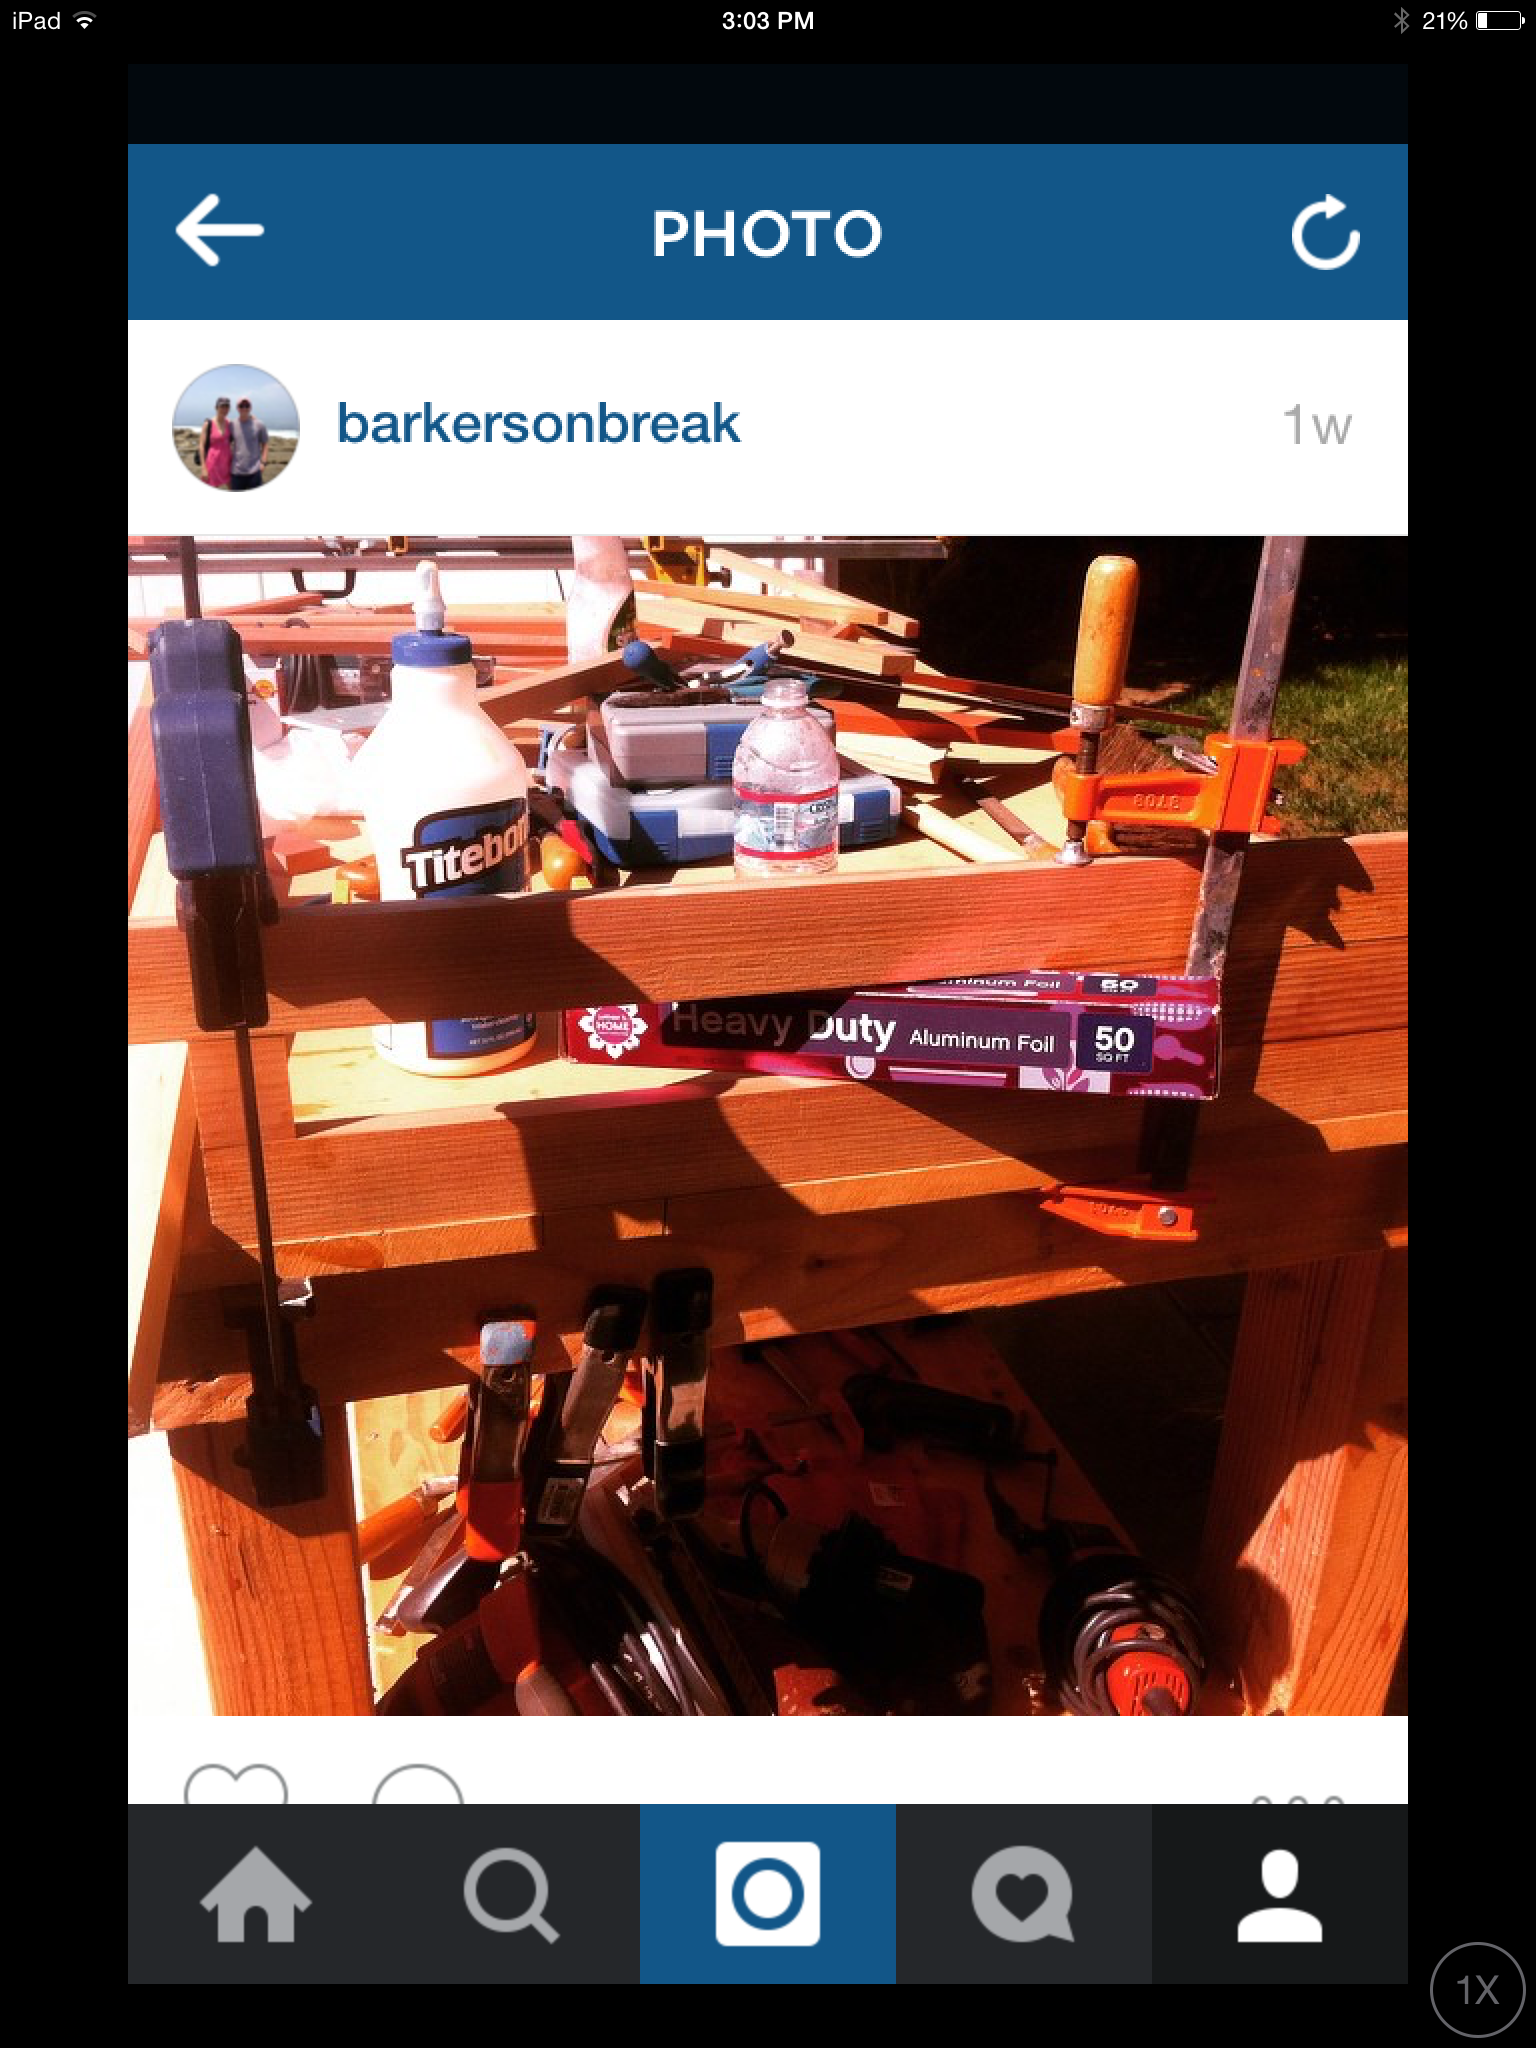
Then I plugged away at framing out the shower pan, working around and within the constraints for the rest of the bathroom – finessing the water heater placement, wanting to maximize storage, leaving room for the door to open, etc.

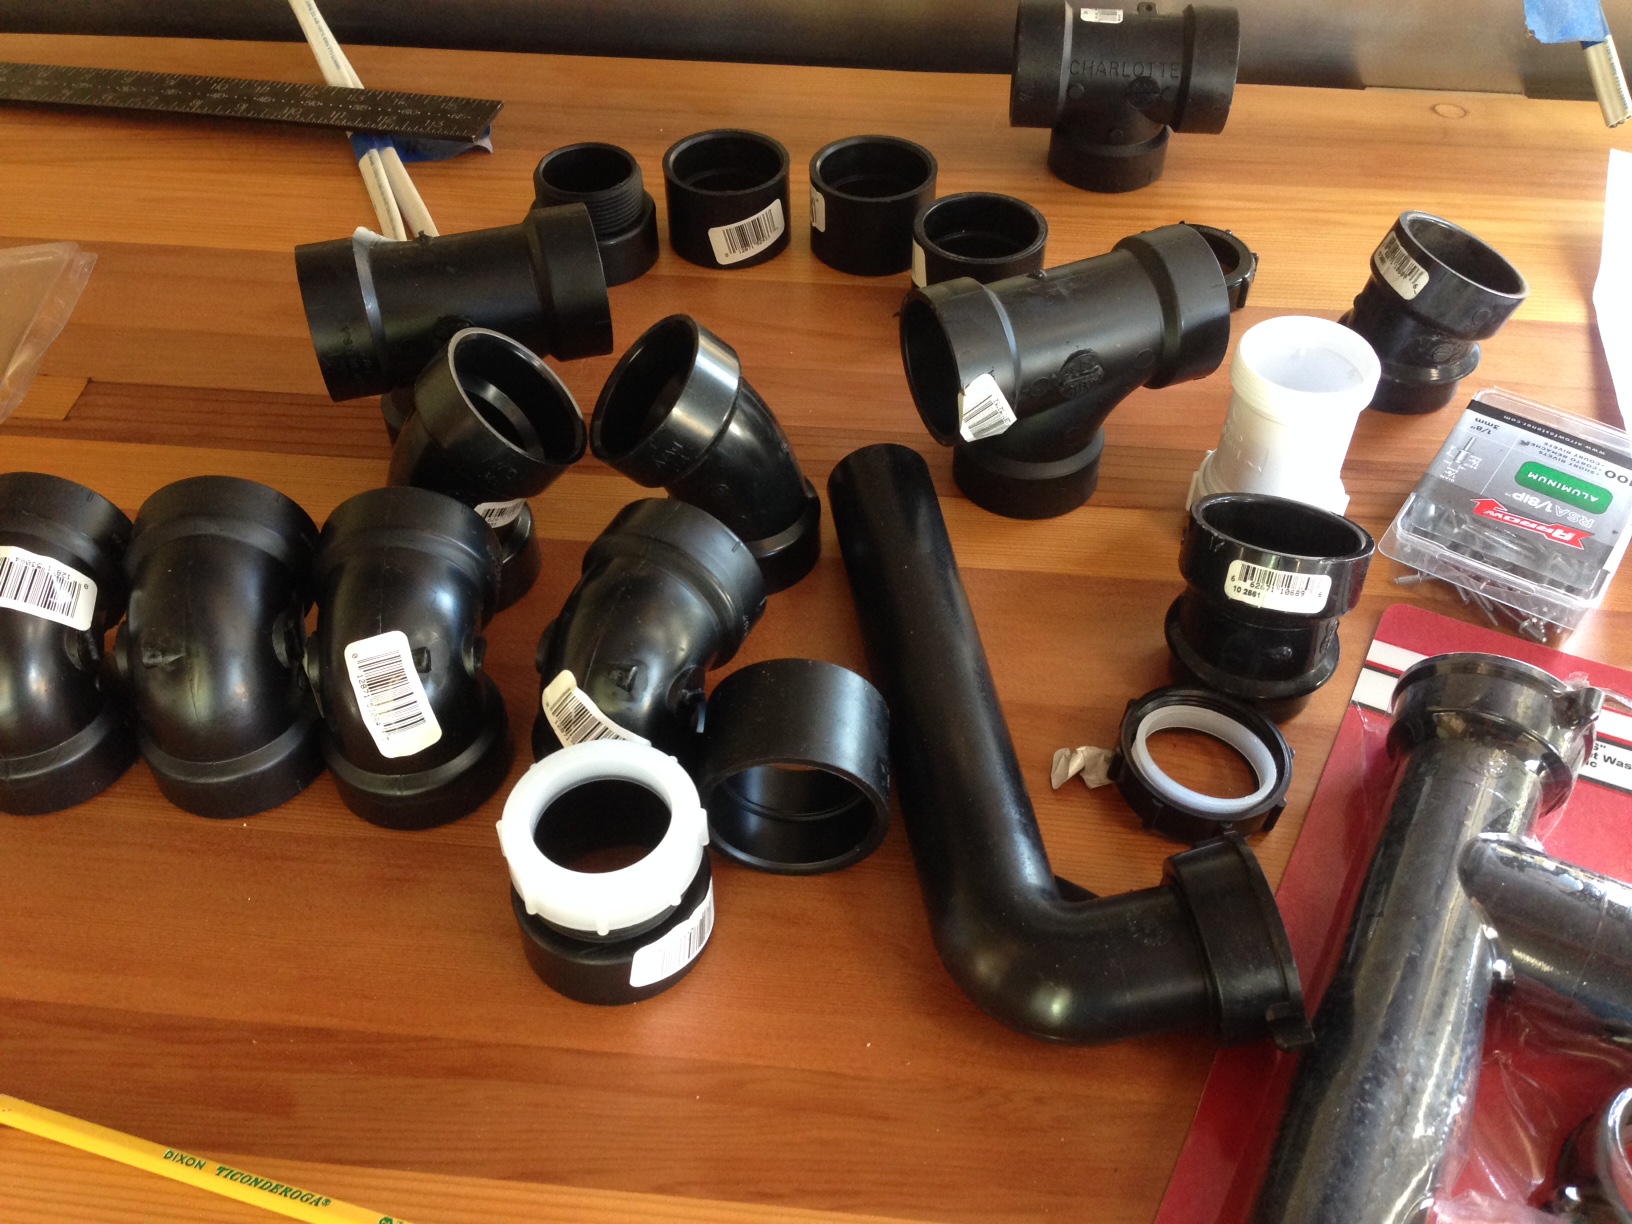
So many plumbing parts gathered, but which is the right one?
In the meantime, I made multiple trips back and forth to Virgil’s to find a compatible drain to marry up the Hepvo device with the main drain line. Many trips. I ended up cannibalizing a small sink drain I already had and turned that into the main shower line.
So, does the shower drain work? Will Meg’s dream come true?
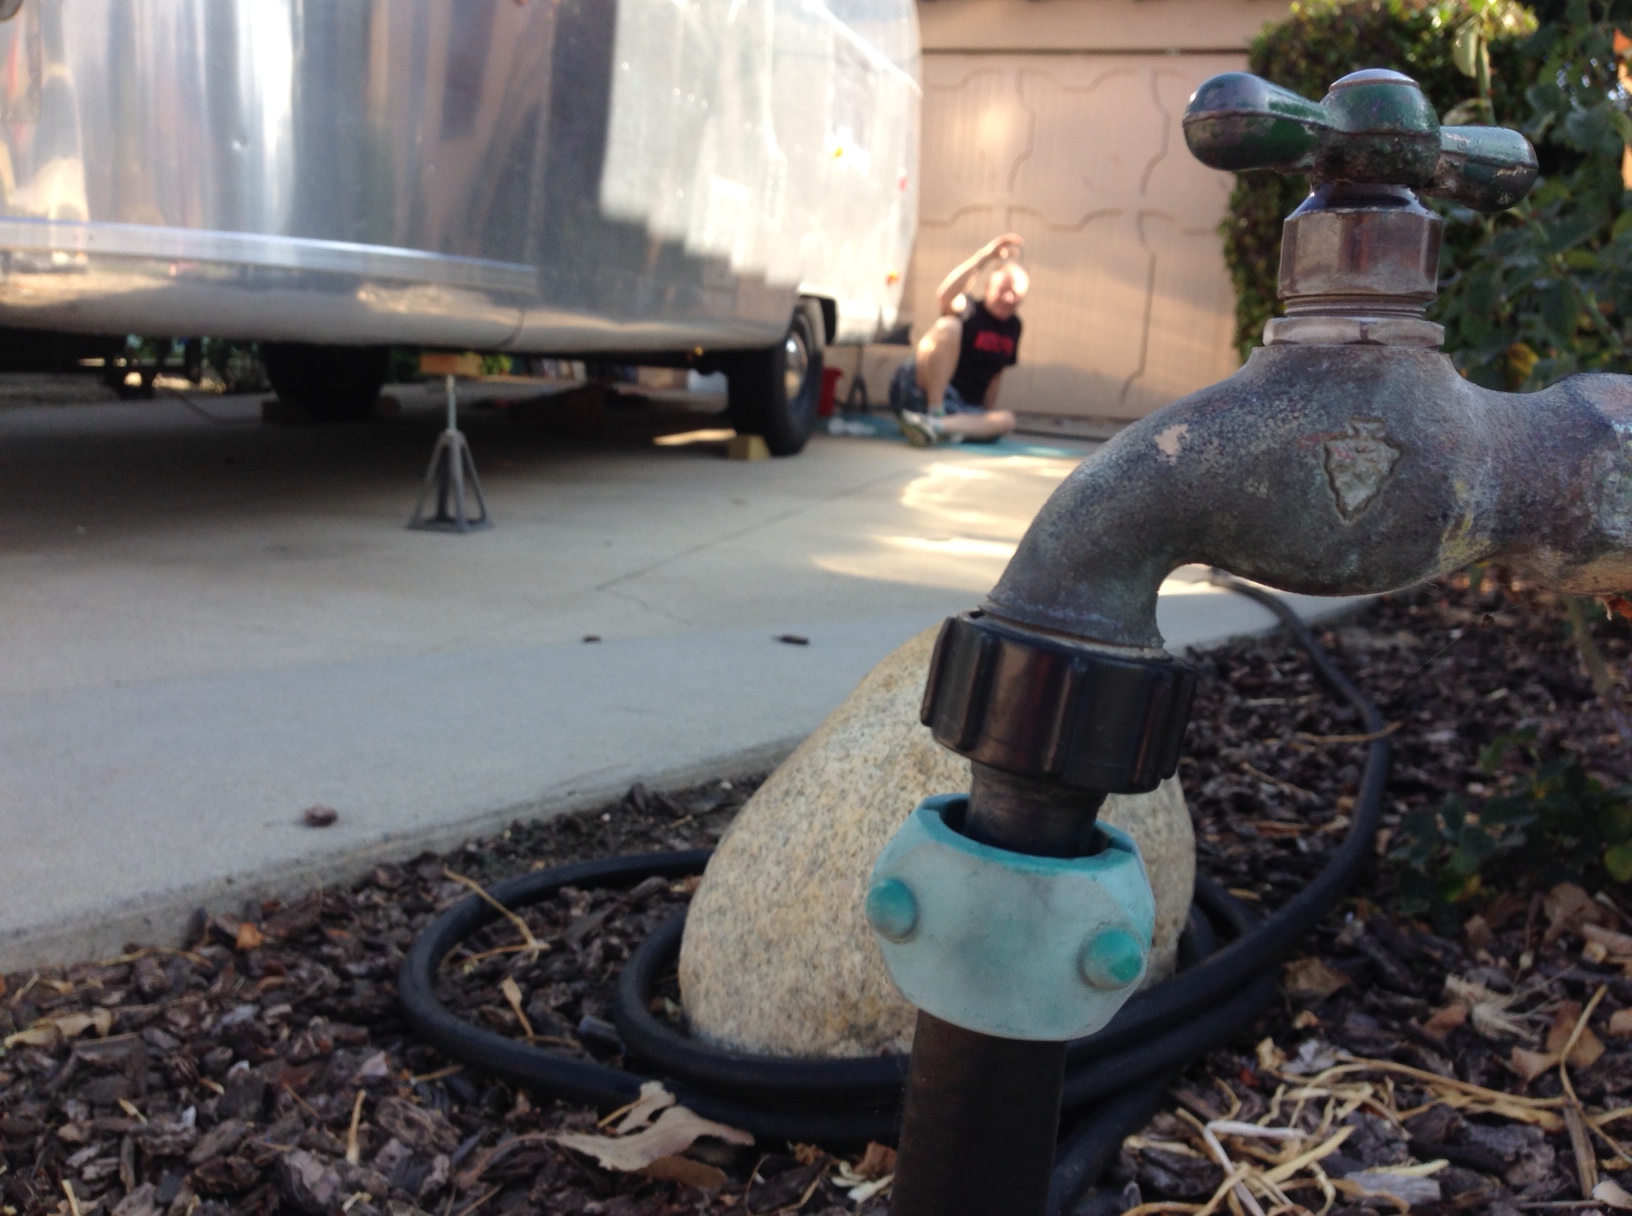
After hooking everything up, tightening screws, doling out silicone, I did a bunch of leak tests with the garden hose resulting in minimal drama – just a few adjustments here and there.
However, in the final test, the shower backed up and almost overflowed! We soon realized we had

Oops! On your test, don’t put more water down the drain than the tanks can hold!

Garden hose critical to plumbing tests.
maxed out and completely filled the 30 gallon water tanks. So we began the process of dumping the water, though of course, carefully.
Twelve 2.5 gallon buckets of water were recycled to give John’s rose bushes an extra drink this week.
Any more to this story? What should we look for next?
The frame out of the bathroom included the installation of the on-demand water heater, a PrecisionTemp RV 550 NSP from Vintage Trailer Supply. I spent some time on the phone with the manufacturer – the installation directions always seem to have a few blanks to fill in, and I found what turned out to be an extra screw rattling around inside. The heater has an exhaust pipe which required a trip to the auto parts store this time–parts to extend the exhaust pipe.
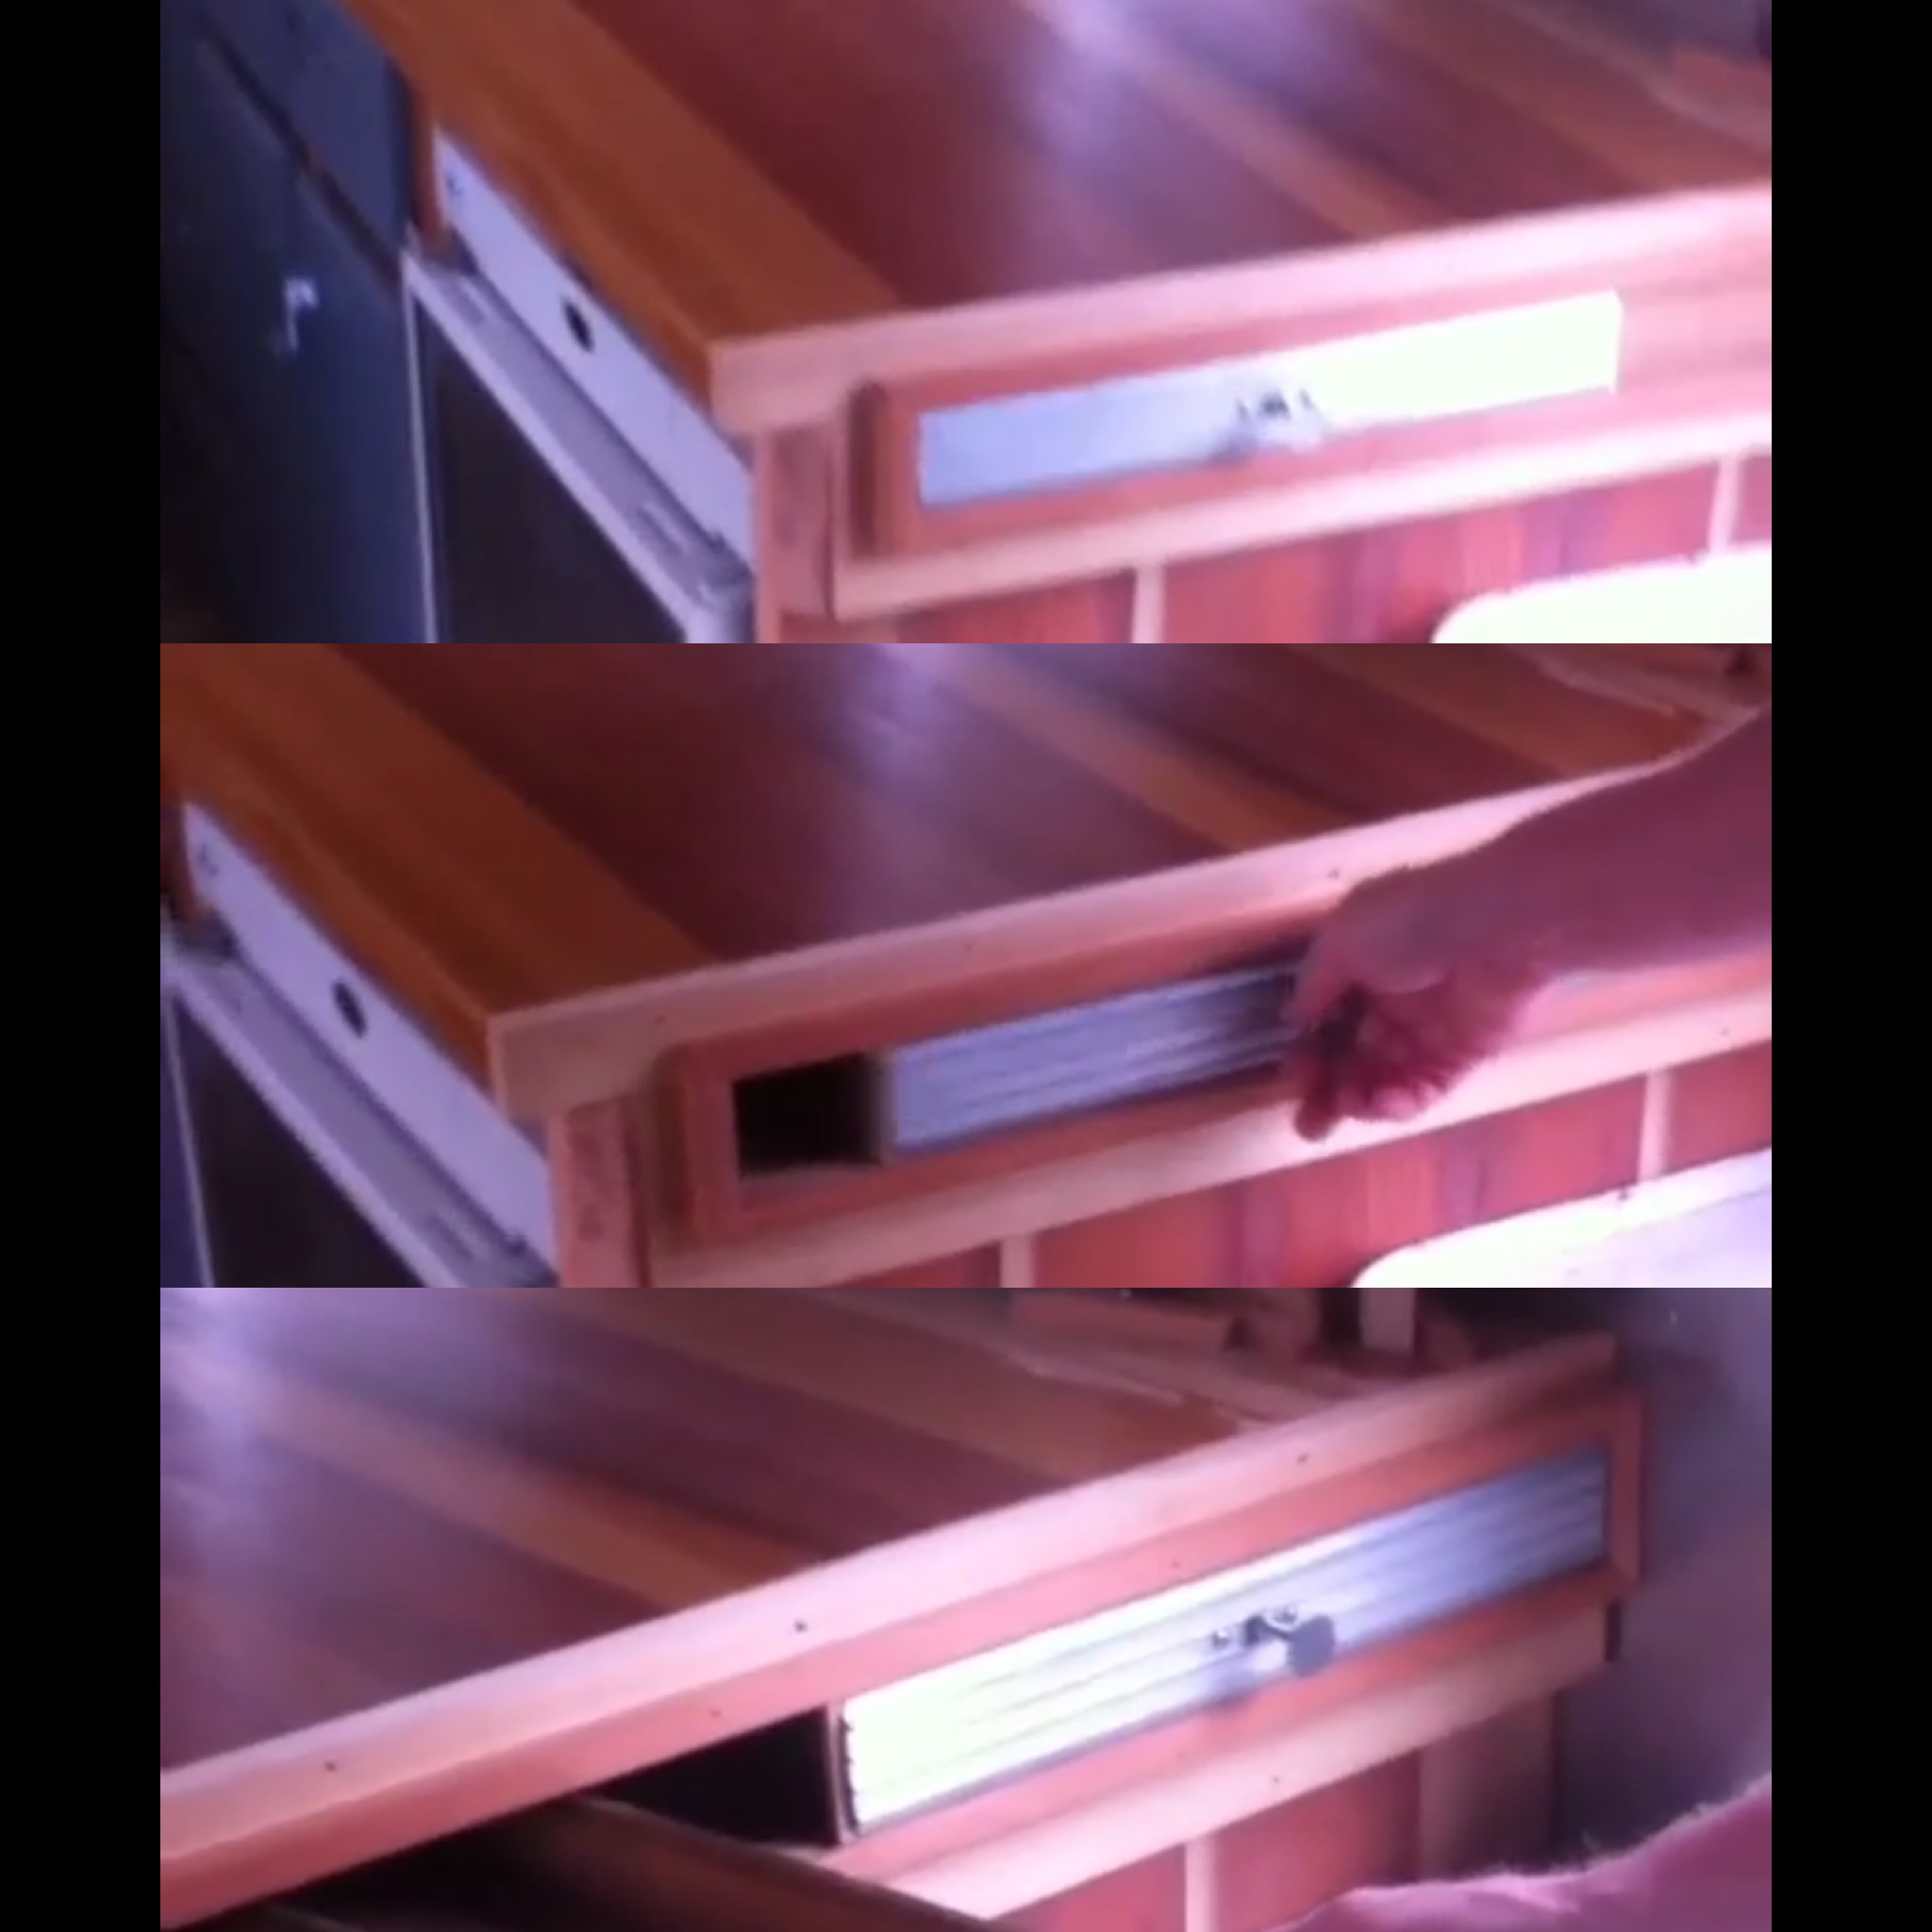
And, we are still researching/debating shower surround – we’ve considered everything from tile, to solid surface, to stainless steel and now we’re coming back to wood – cedar planks like in a sauna. Some negatives to that, but we’ll try to work around those and figure it out as we go.

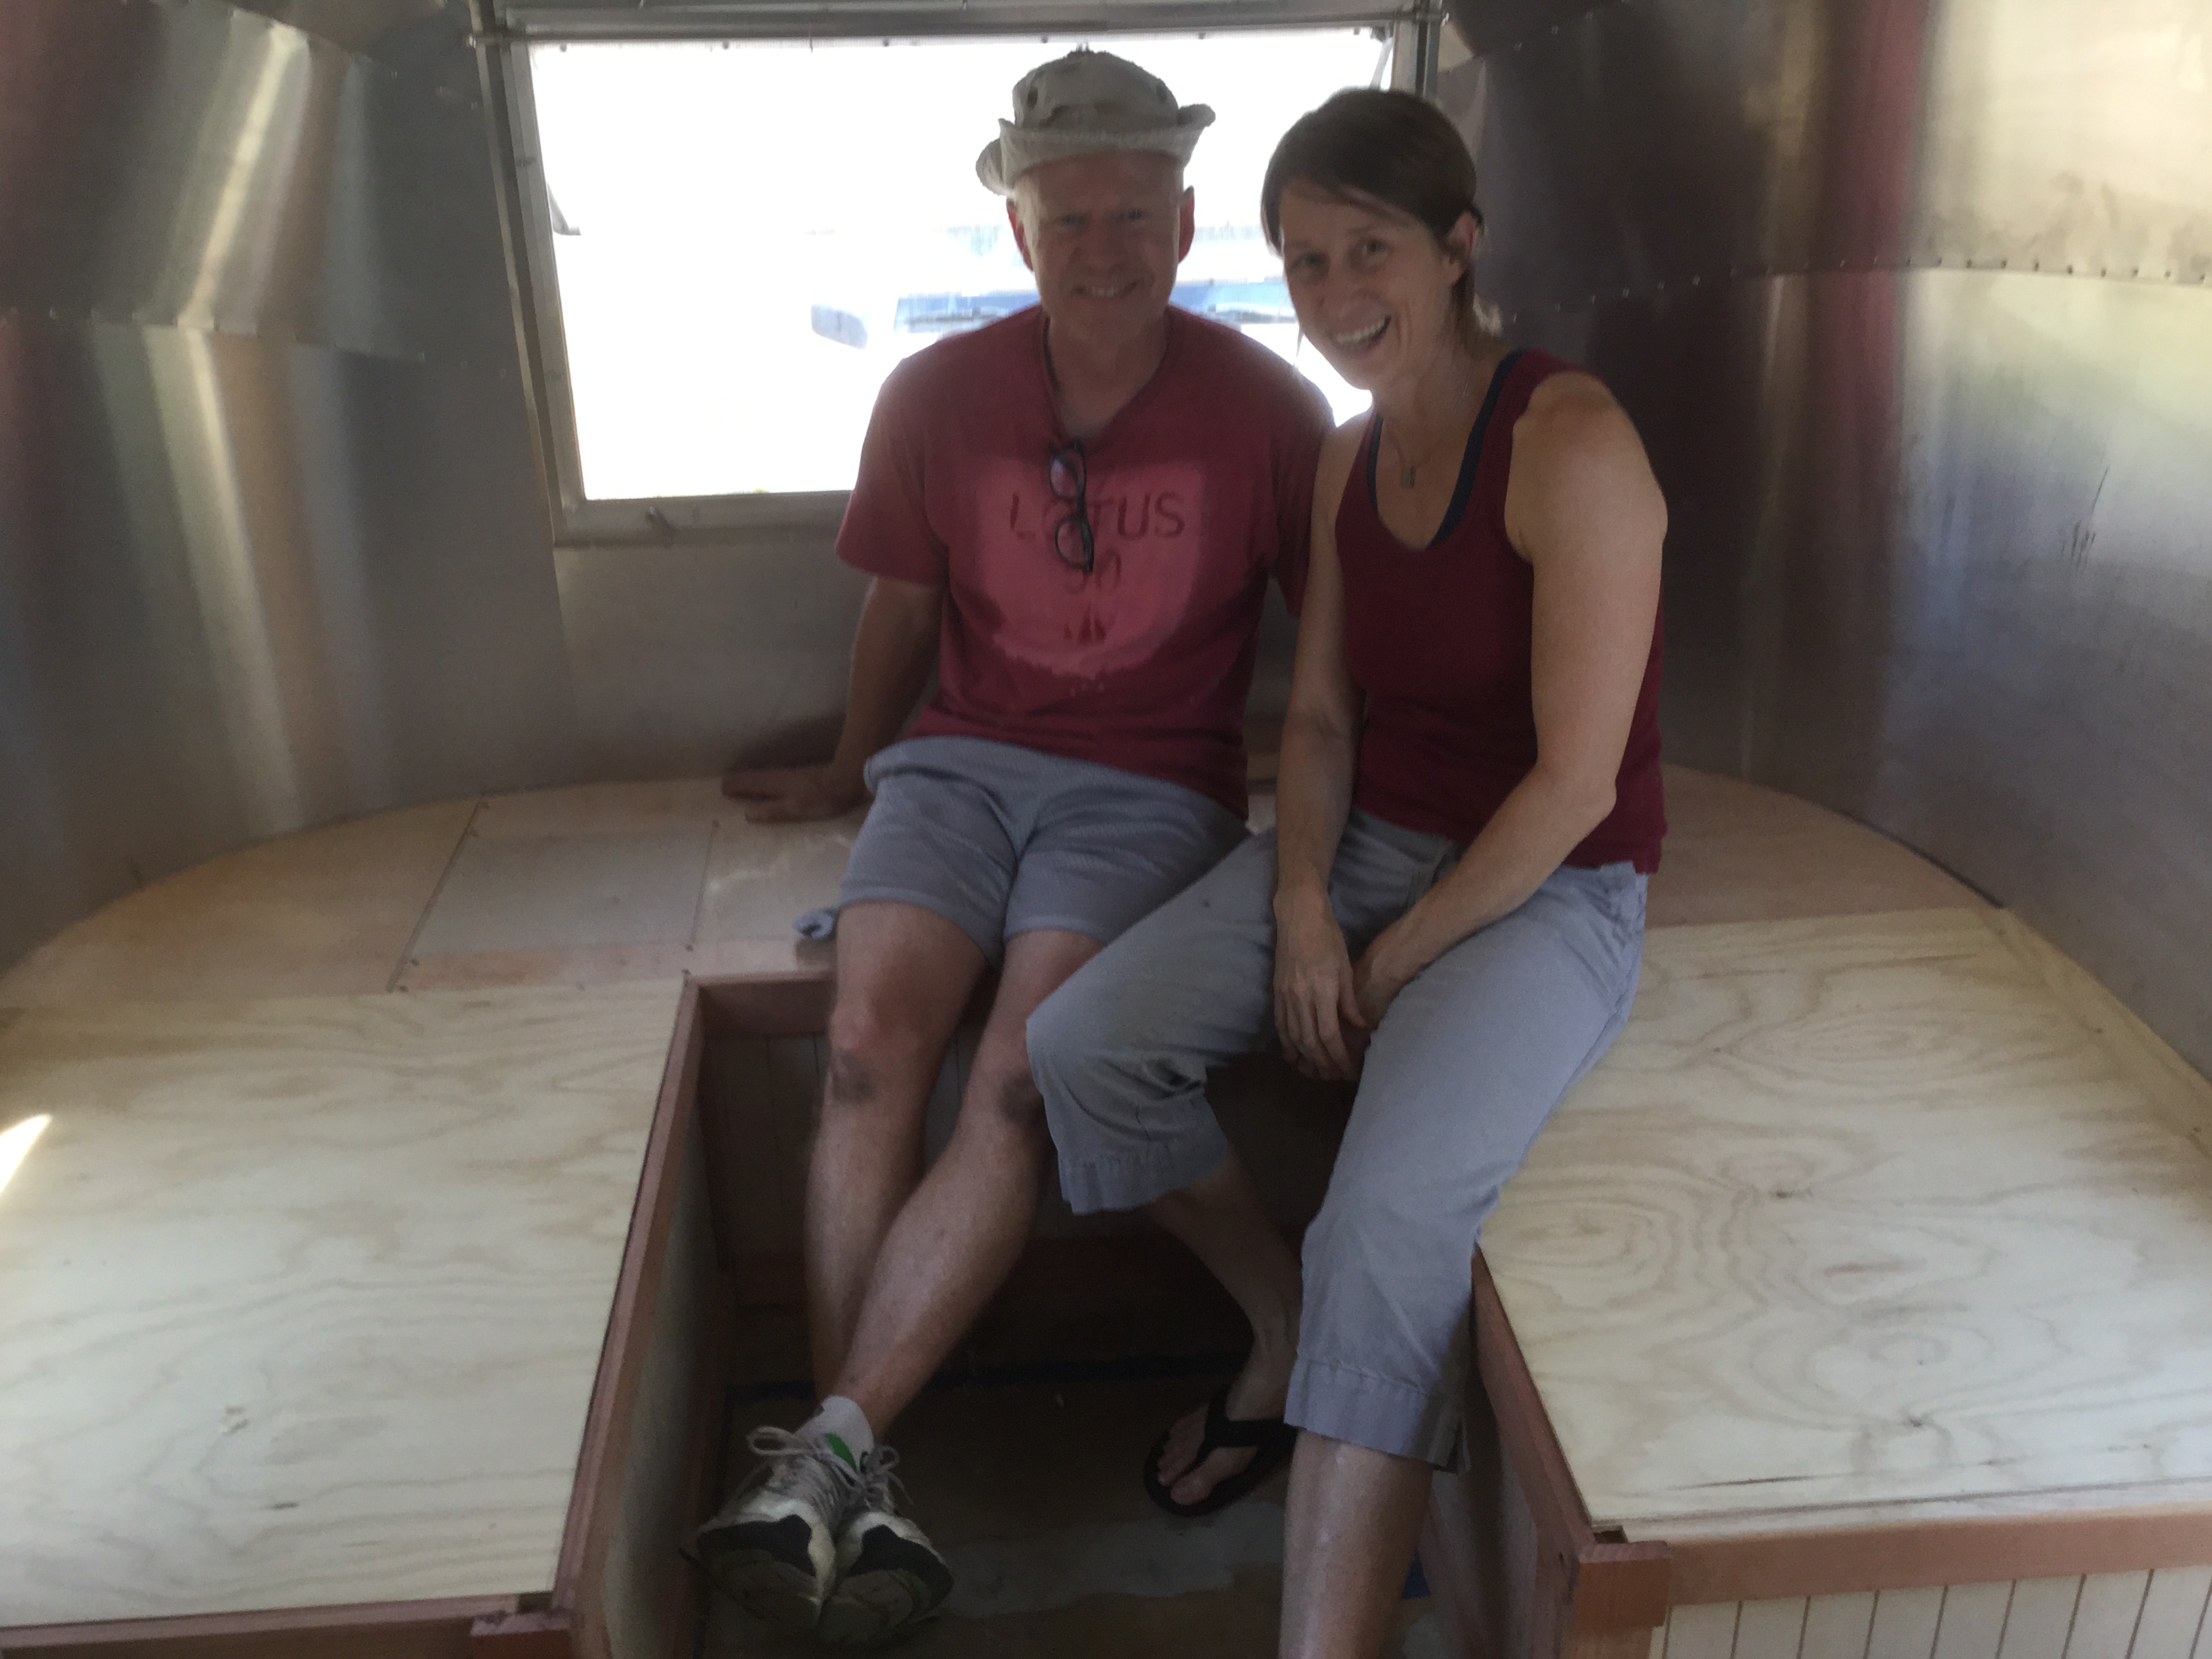
Lunch break – Ben loves pictures! And lunch breaks!
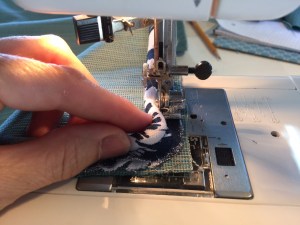
And???? And, I’ve promised you [Meg] to install those curtain rods so you can hem the curtains and finish that project.
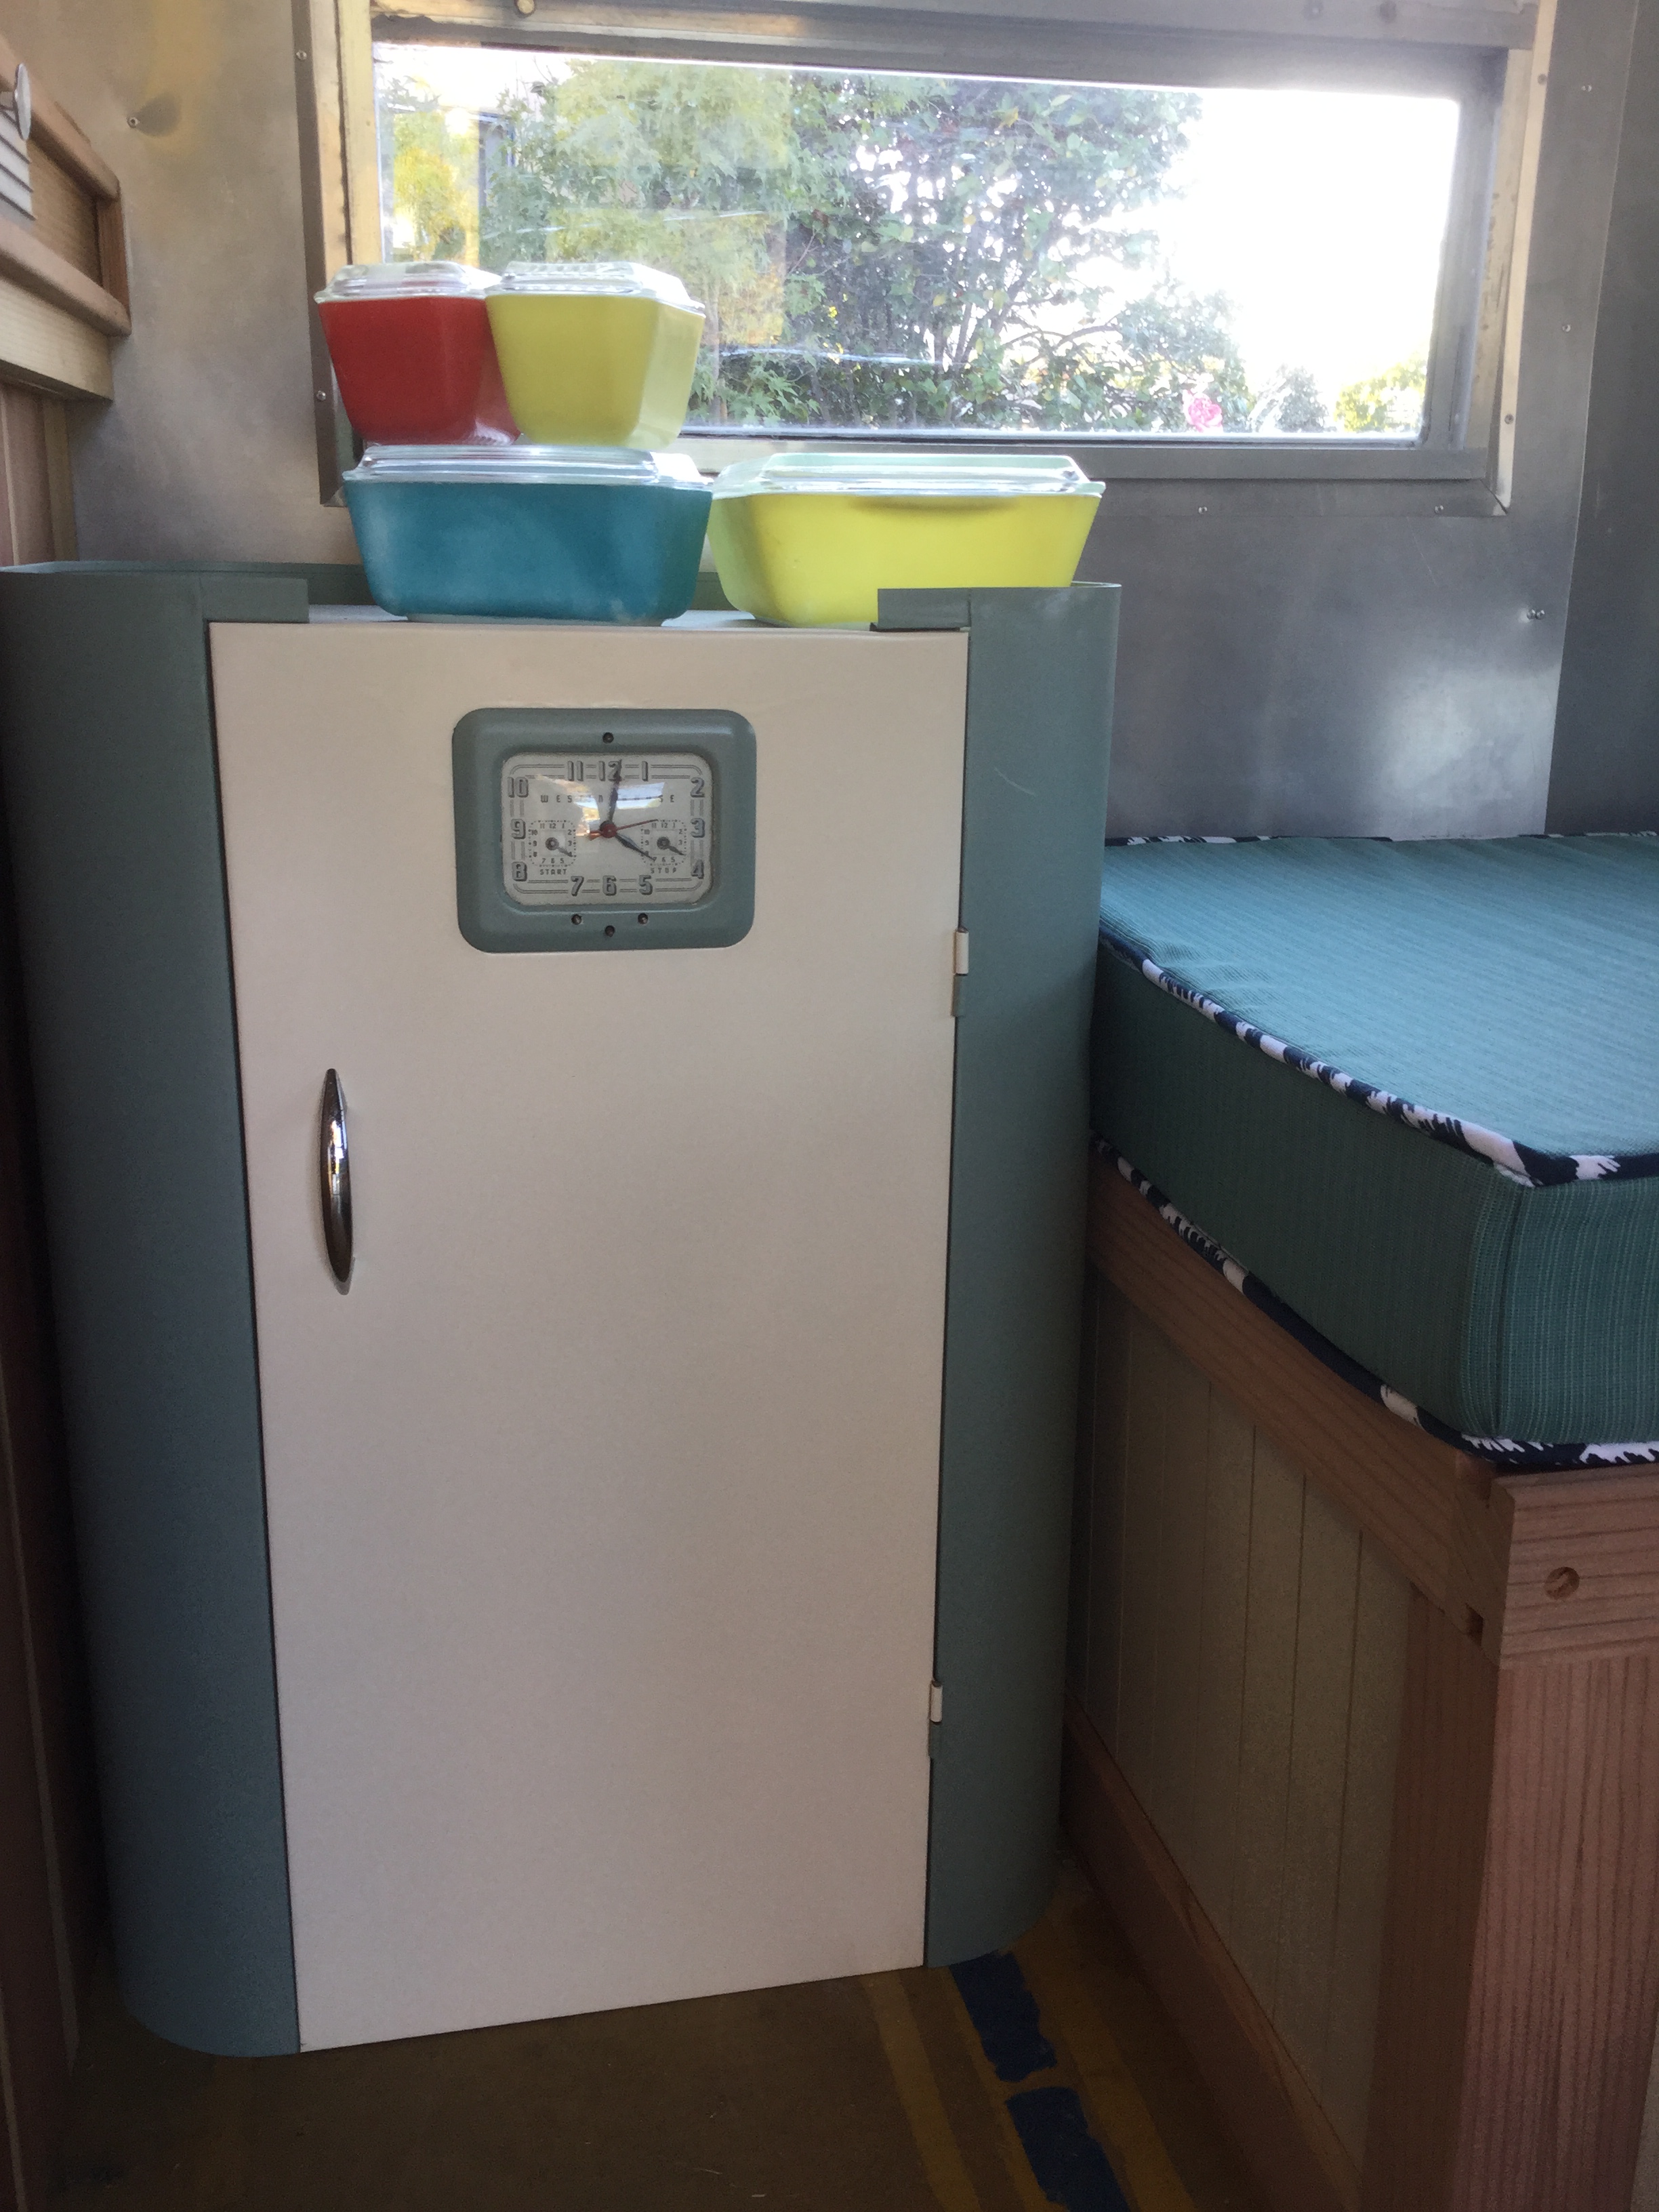
Right, get on that please! More coming soon on curtains, the refrigerator, oven, kitchen storage, and a trip to Home Depot to buy stuff!


")


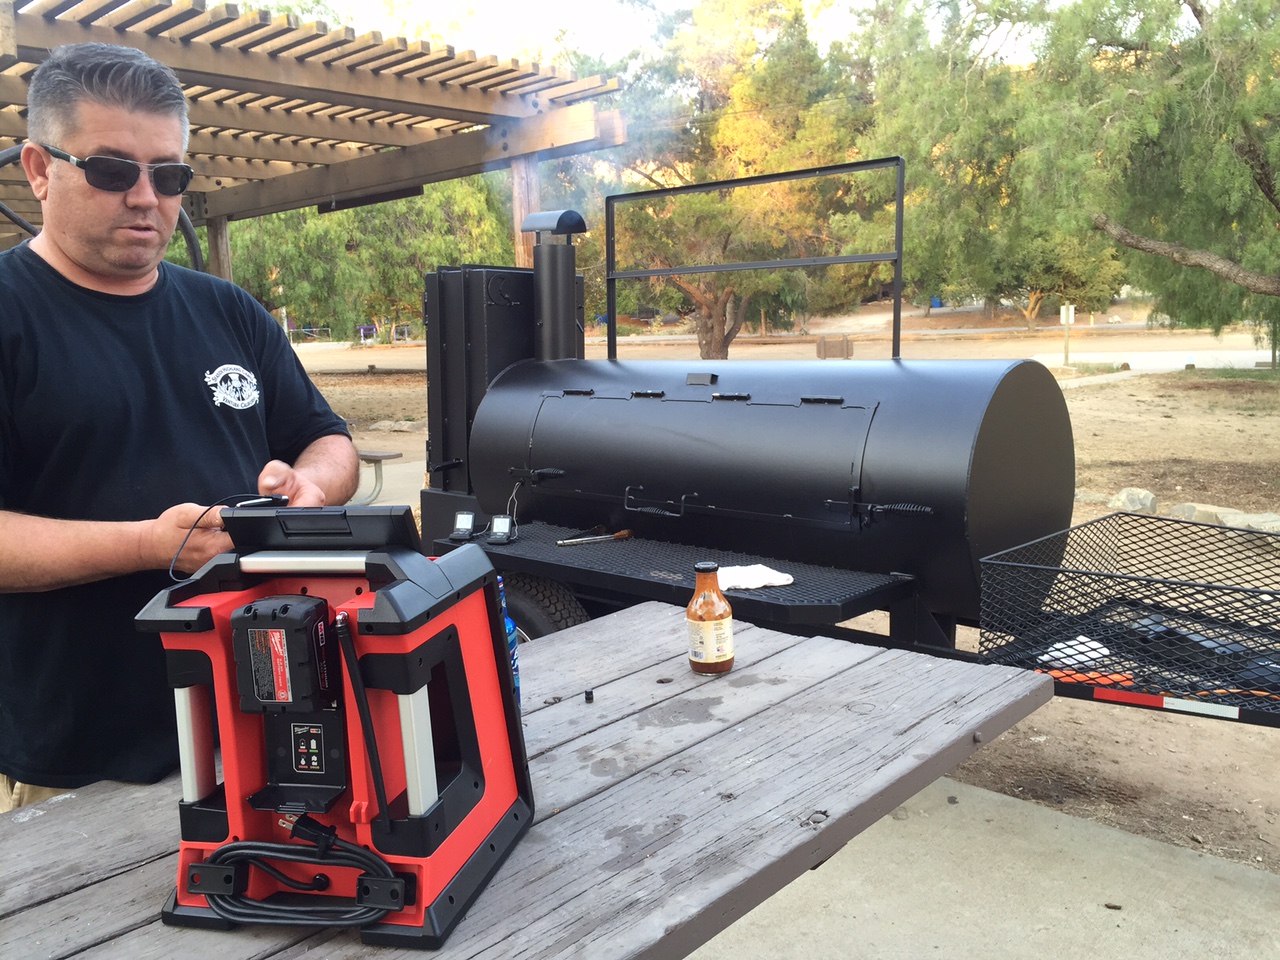
 -Last, for now, food. Shout out to a good meal at the


