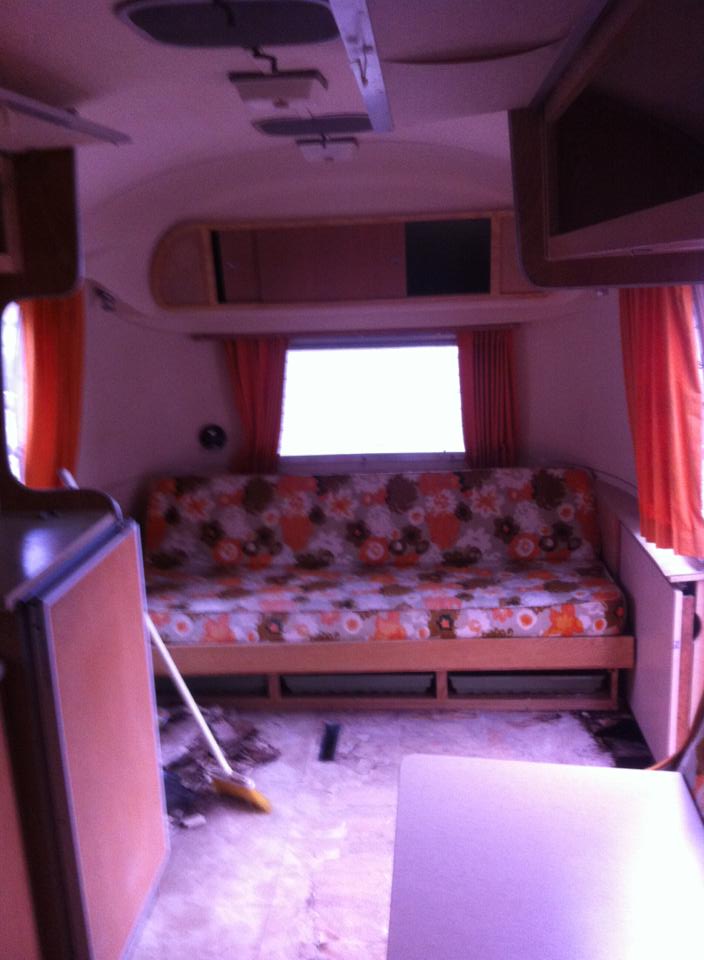
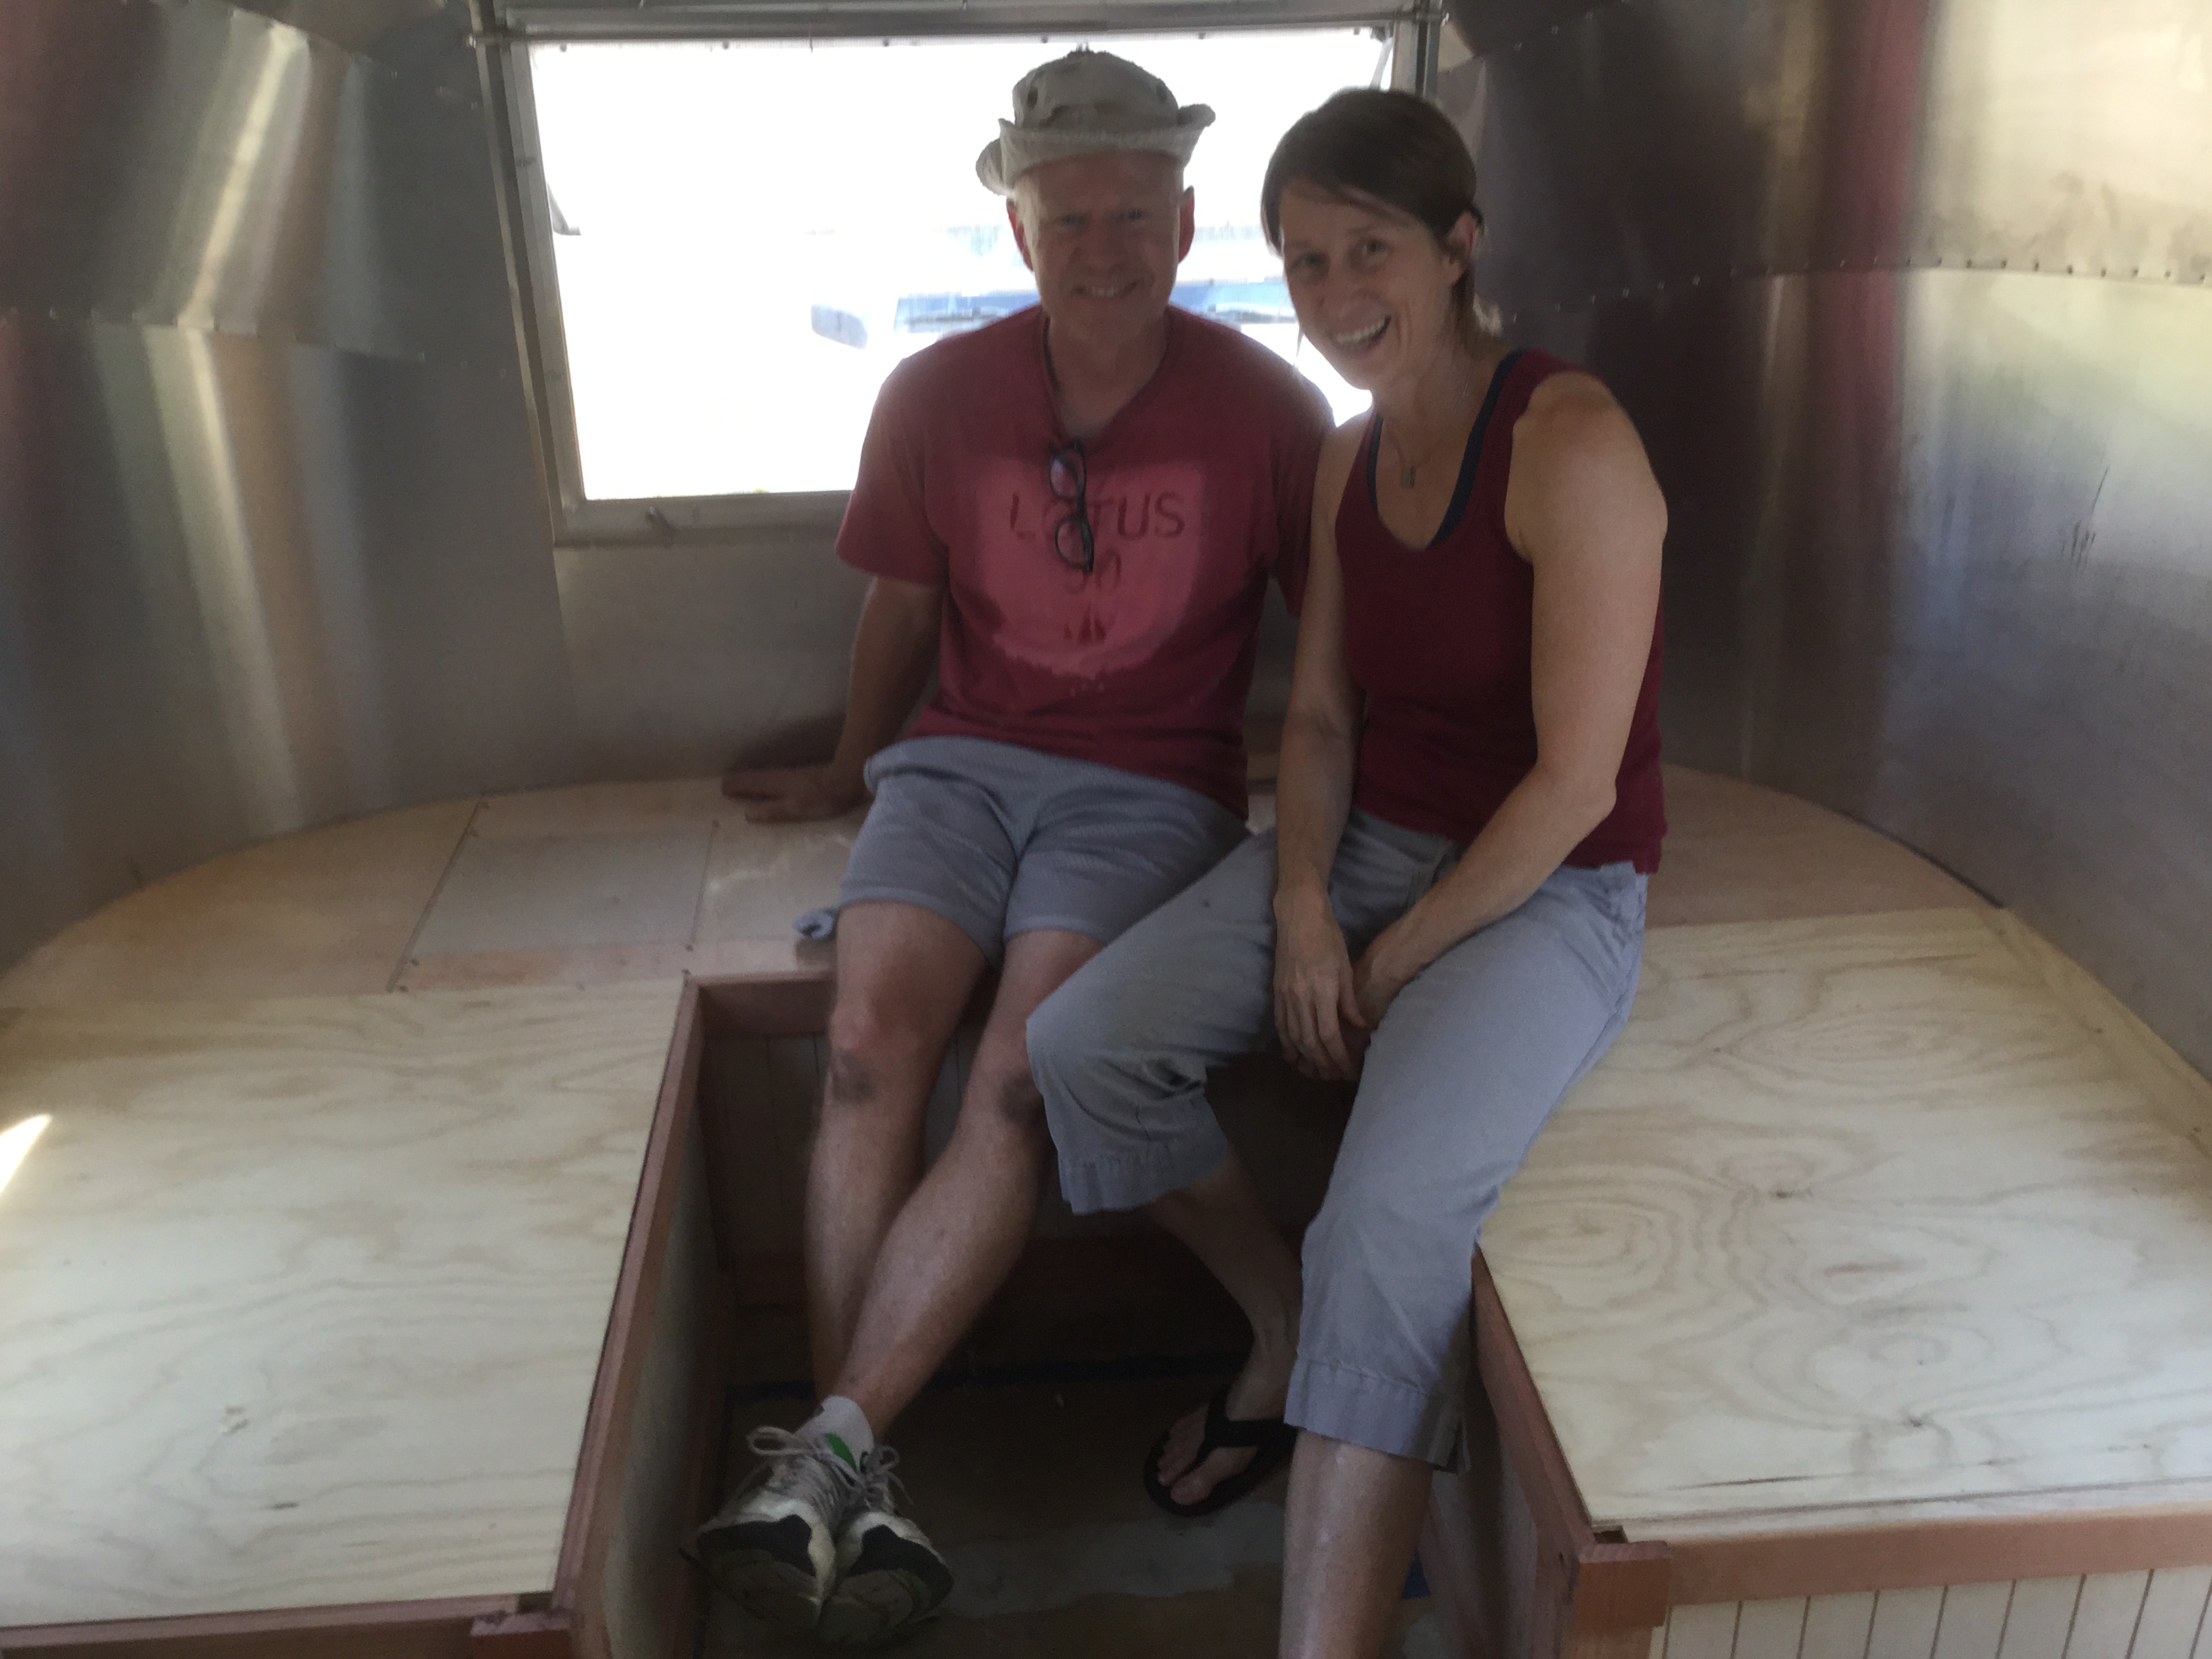
Even though it’s the heart of summer, best not to let academic writing skills lag! Thus, a topic sentence for you: In this blog post, you’ll learn about the completion of the bed/dinette AND cushions, light fixture installation, another successful flea market trip, and a problem-solving hole! Maybe we’ve said this before, but it feels like we’ve made real progress and are getting to the final push. See how proud we are, not exactly lounging, but definitely posing for the very first time in our living space on the completed dinette/bed.
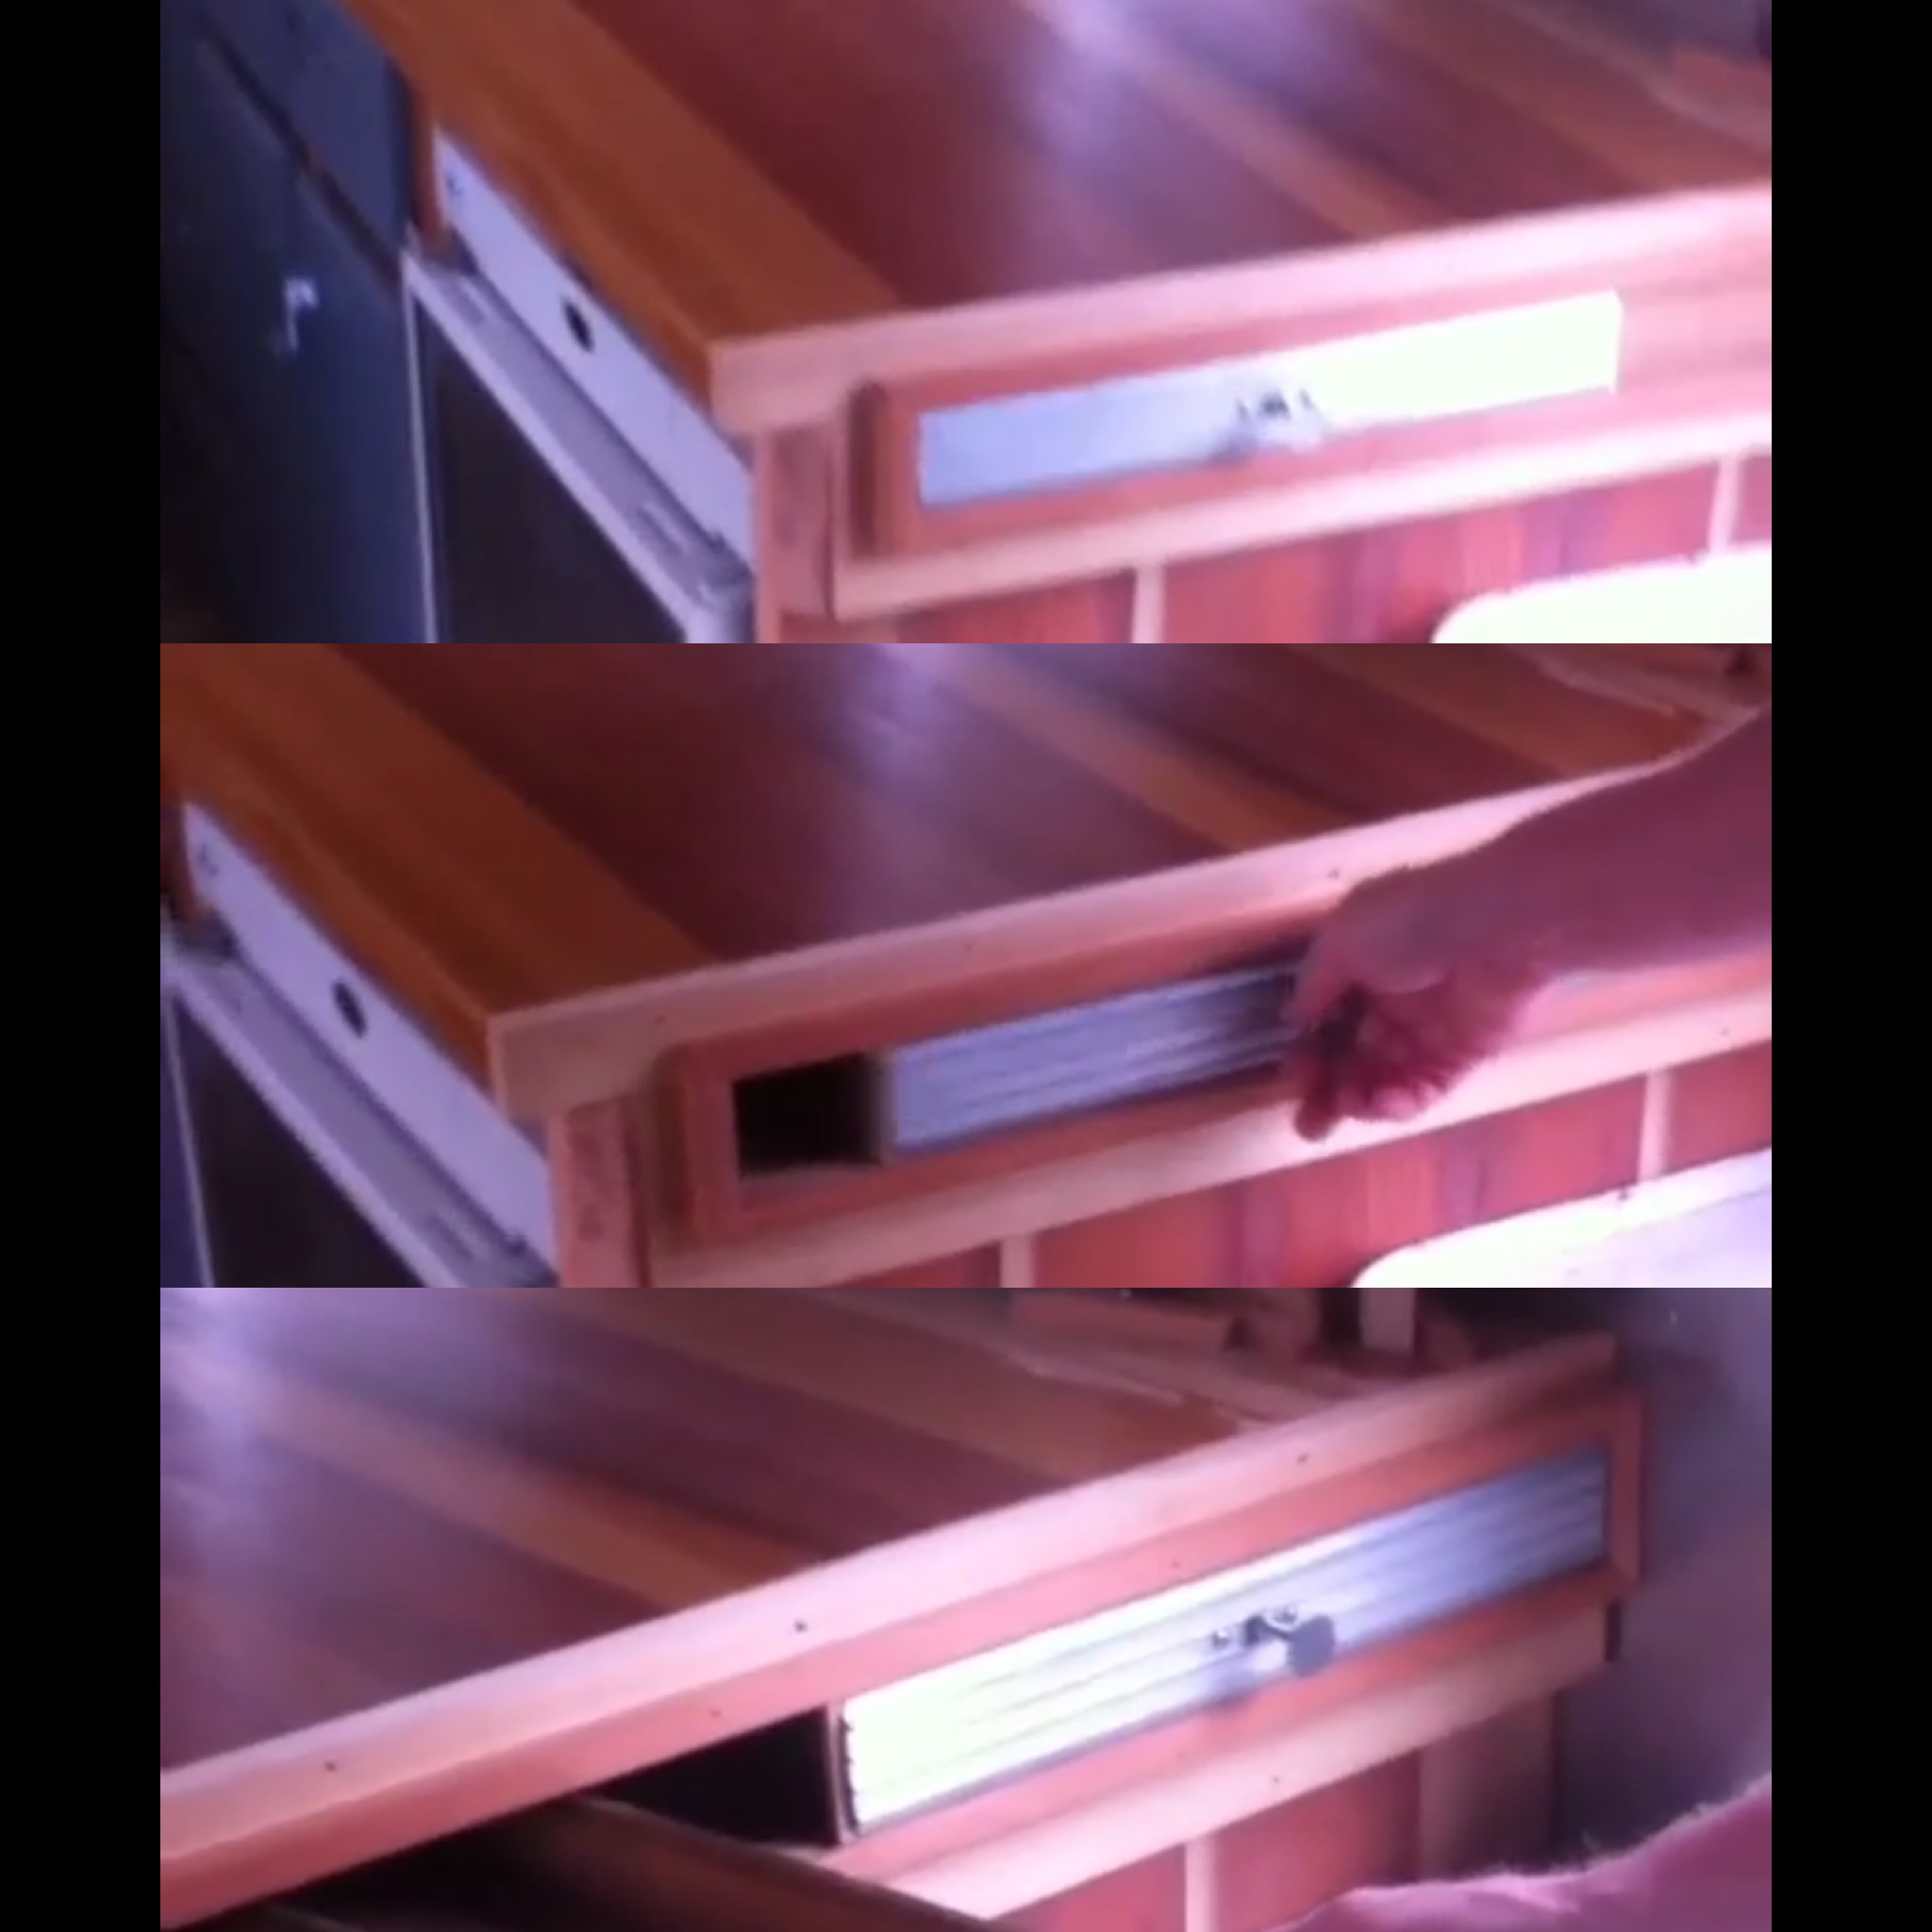
So, about that hole. A little animation would probably illustrate this much better than I can explain, but let me try. Once the dinette / bed was done, we sat down in it and our planned cushion thickness was too high – our feet just barely grazed the ground. After some concerted thinking and lots of “What if we tried…?”, the answer miraculously appeared (answers to these kinds of questions have been slow lately, given the heat and humidity). Here’s the process that seems to work when solving these dilemmas: First, we ask ourselves, “What are the elements of this situation we can’t change.” (Forces you to recognize elements that are cast in stone and to focus only on what you can change. A structure materializes.) Second, we try to remember to keep it simple. In the case of the cushion crisis, we soon realized we could not change the height of the dinette seats, but we could adjust the table height (get out the drill) as well as the seat cushion thickness. It all flowed from there, as the next picture illustrates.

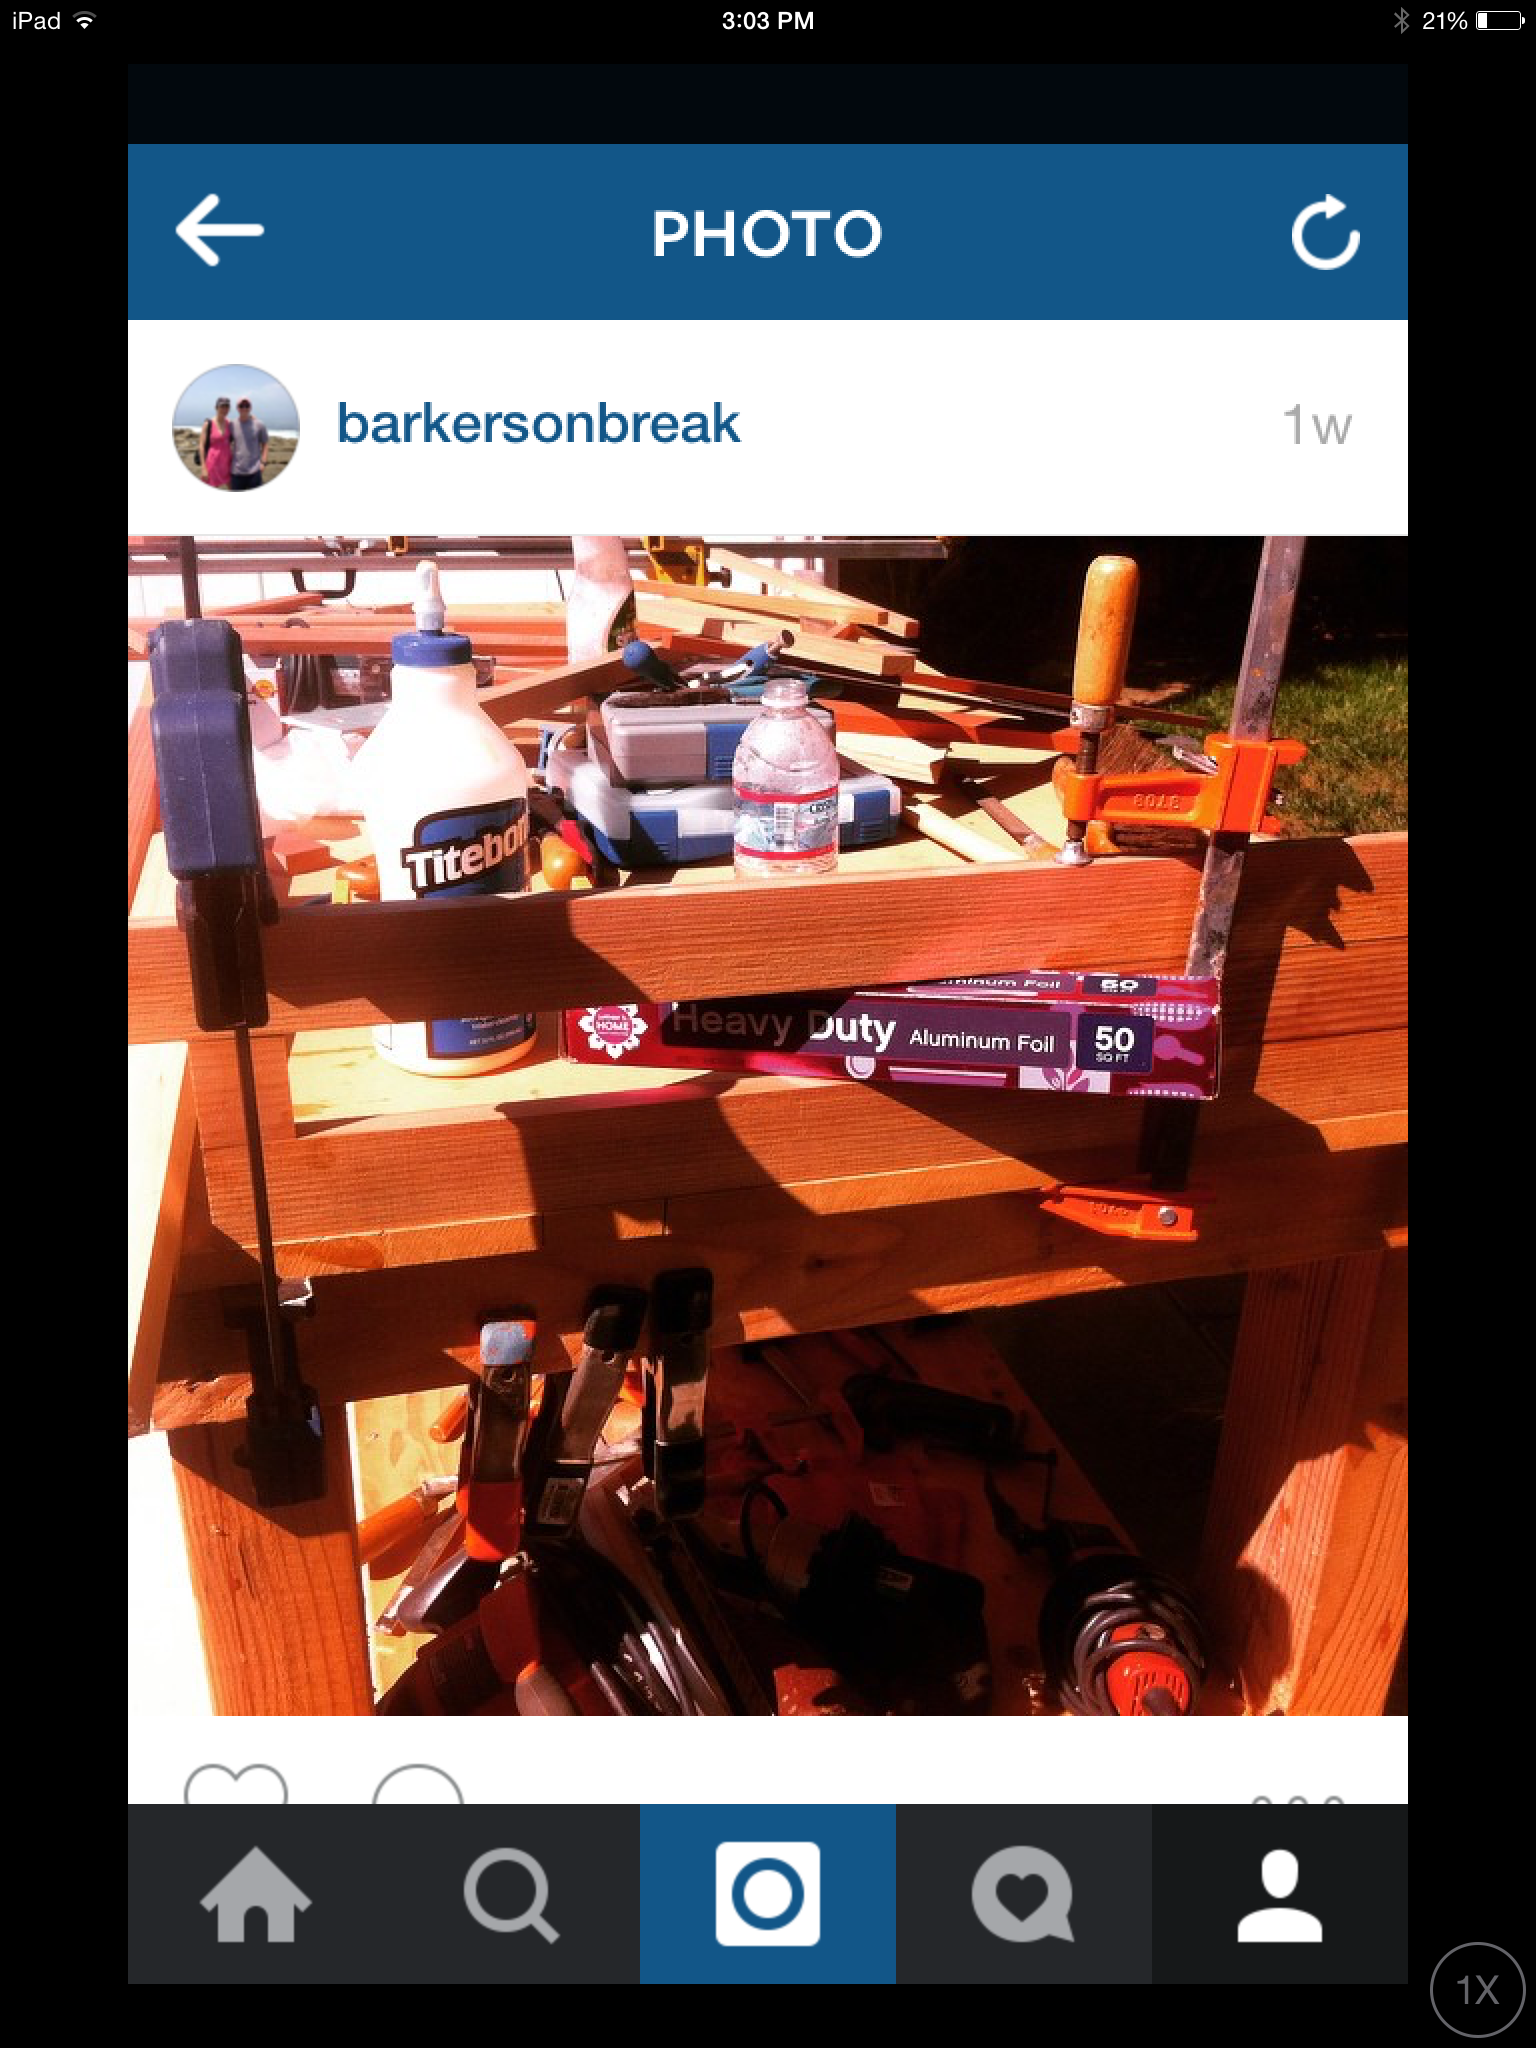
Ben cut a hole in the subfloor (as best we could tell we weren’t going to cut into anything important but it was a real nail biter!) so we could lower the table pedestal into it, thus reducing the table’s overall height, as seen in the picture below. This also allowed the tapered pedestal to fit into the base securely as designed, and eliminated the need for Ben to do another customization. (The apple was for effect.)

Then we reduced the cushion thickness to allow our feet to touch the floor! When all was complete (ta da!) the thickness of the fill-in cushion on the table had to be adjusted to make everything level. Lots of moving parts in decisions like this, and our measuring/arithmetic skills get tested! In the end, we’re usually still crossing our fingers as we reach for the power tools (or checkbook).

As soon as I finished the last two cushions (the curved corners – not any harder than the others, but don’t tell anyone!) we realized, indeed, we need back cushions, too. Short ones that won’t cover the windows, but will provide a base for said lounging. So I am off to my fabric and foam haunts today.
Now, the lights. When Ben first acquired these marine light fixtures (out of India where they salvage retiring cargo ships, strip every nut and bolt from them, then sell it all on ebay) I wasn’t sure they would work in the Airstream (I’m always imagining bumping my head on them – on everything really) but was I wrong. Ben installed them this week, with lots of persistent wiring and rewiring, and we think they look AWESOME!

 The pic on the right also shows off the now completed overhead cabinets, complete with magnetic closing latches and gas piston supports to keep the doors open.
This week’s day off took us to the Long Beach flea market. We picked up this vintage “KampKold” cooler – aluminum, in great shape, 50s era. Also, to the right, a just-right piece we’ll use for our “junk drawers”. It’s some old industrial metal drawers with a cool piece of beat-up walnut on top. Around here, any flea market trip is considered a roaring success if we buy something we need (not just something we want) and Ben is relieved of the need to build said item(s)!

I love you all so much and it was all I could do to get up from sitting on the cooler to take this picture. It was so hot and I was waiting in the shade for Ben to get the car.
Finally, we had a lovely farewell dinner with Mrs. Blackmun, our former neighbor (mother of my friend Michelle). She sold her house and is moving on (as many of my parents’ friends are doing now). We reminisced about the good times – jumping over a king snake that blocked our path while walking their dog Smokey, and the neighbor with PTSD who shot up some cars one night. Mrs. Blackmun and my parents have always been there for each other through the years. In one story, Mrs. Blackmun (who is my sister Sara’s godmother) recalled Sara’s colic as a baby, saying only, but so empathetically, “Your poor mom.” I know her empathy, prayers and more have helped my parents immeasurably.
Dinner was a composed salad (on my grandmother’s china platter) inspired by NY Times – featuring white beans with lemon zest, walnuts, beets, goat cheese, cherry tomatoes, grilled onions, asparagus, radishes, raw corn, and peaches. We also had grilled flank steak with chimichurri.

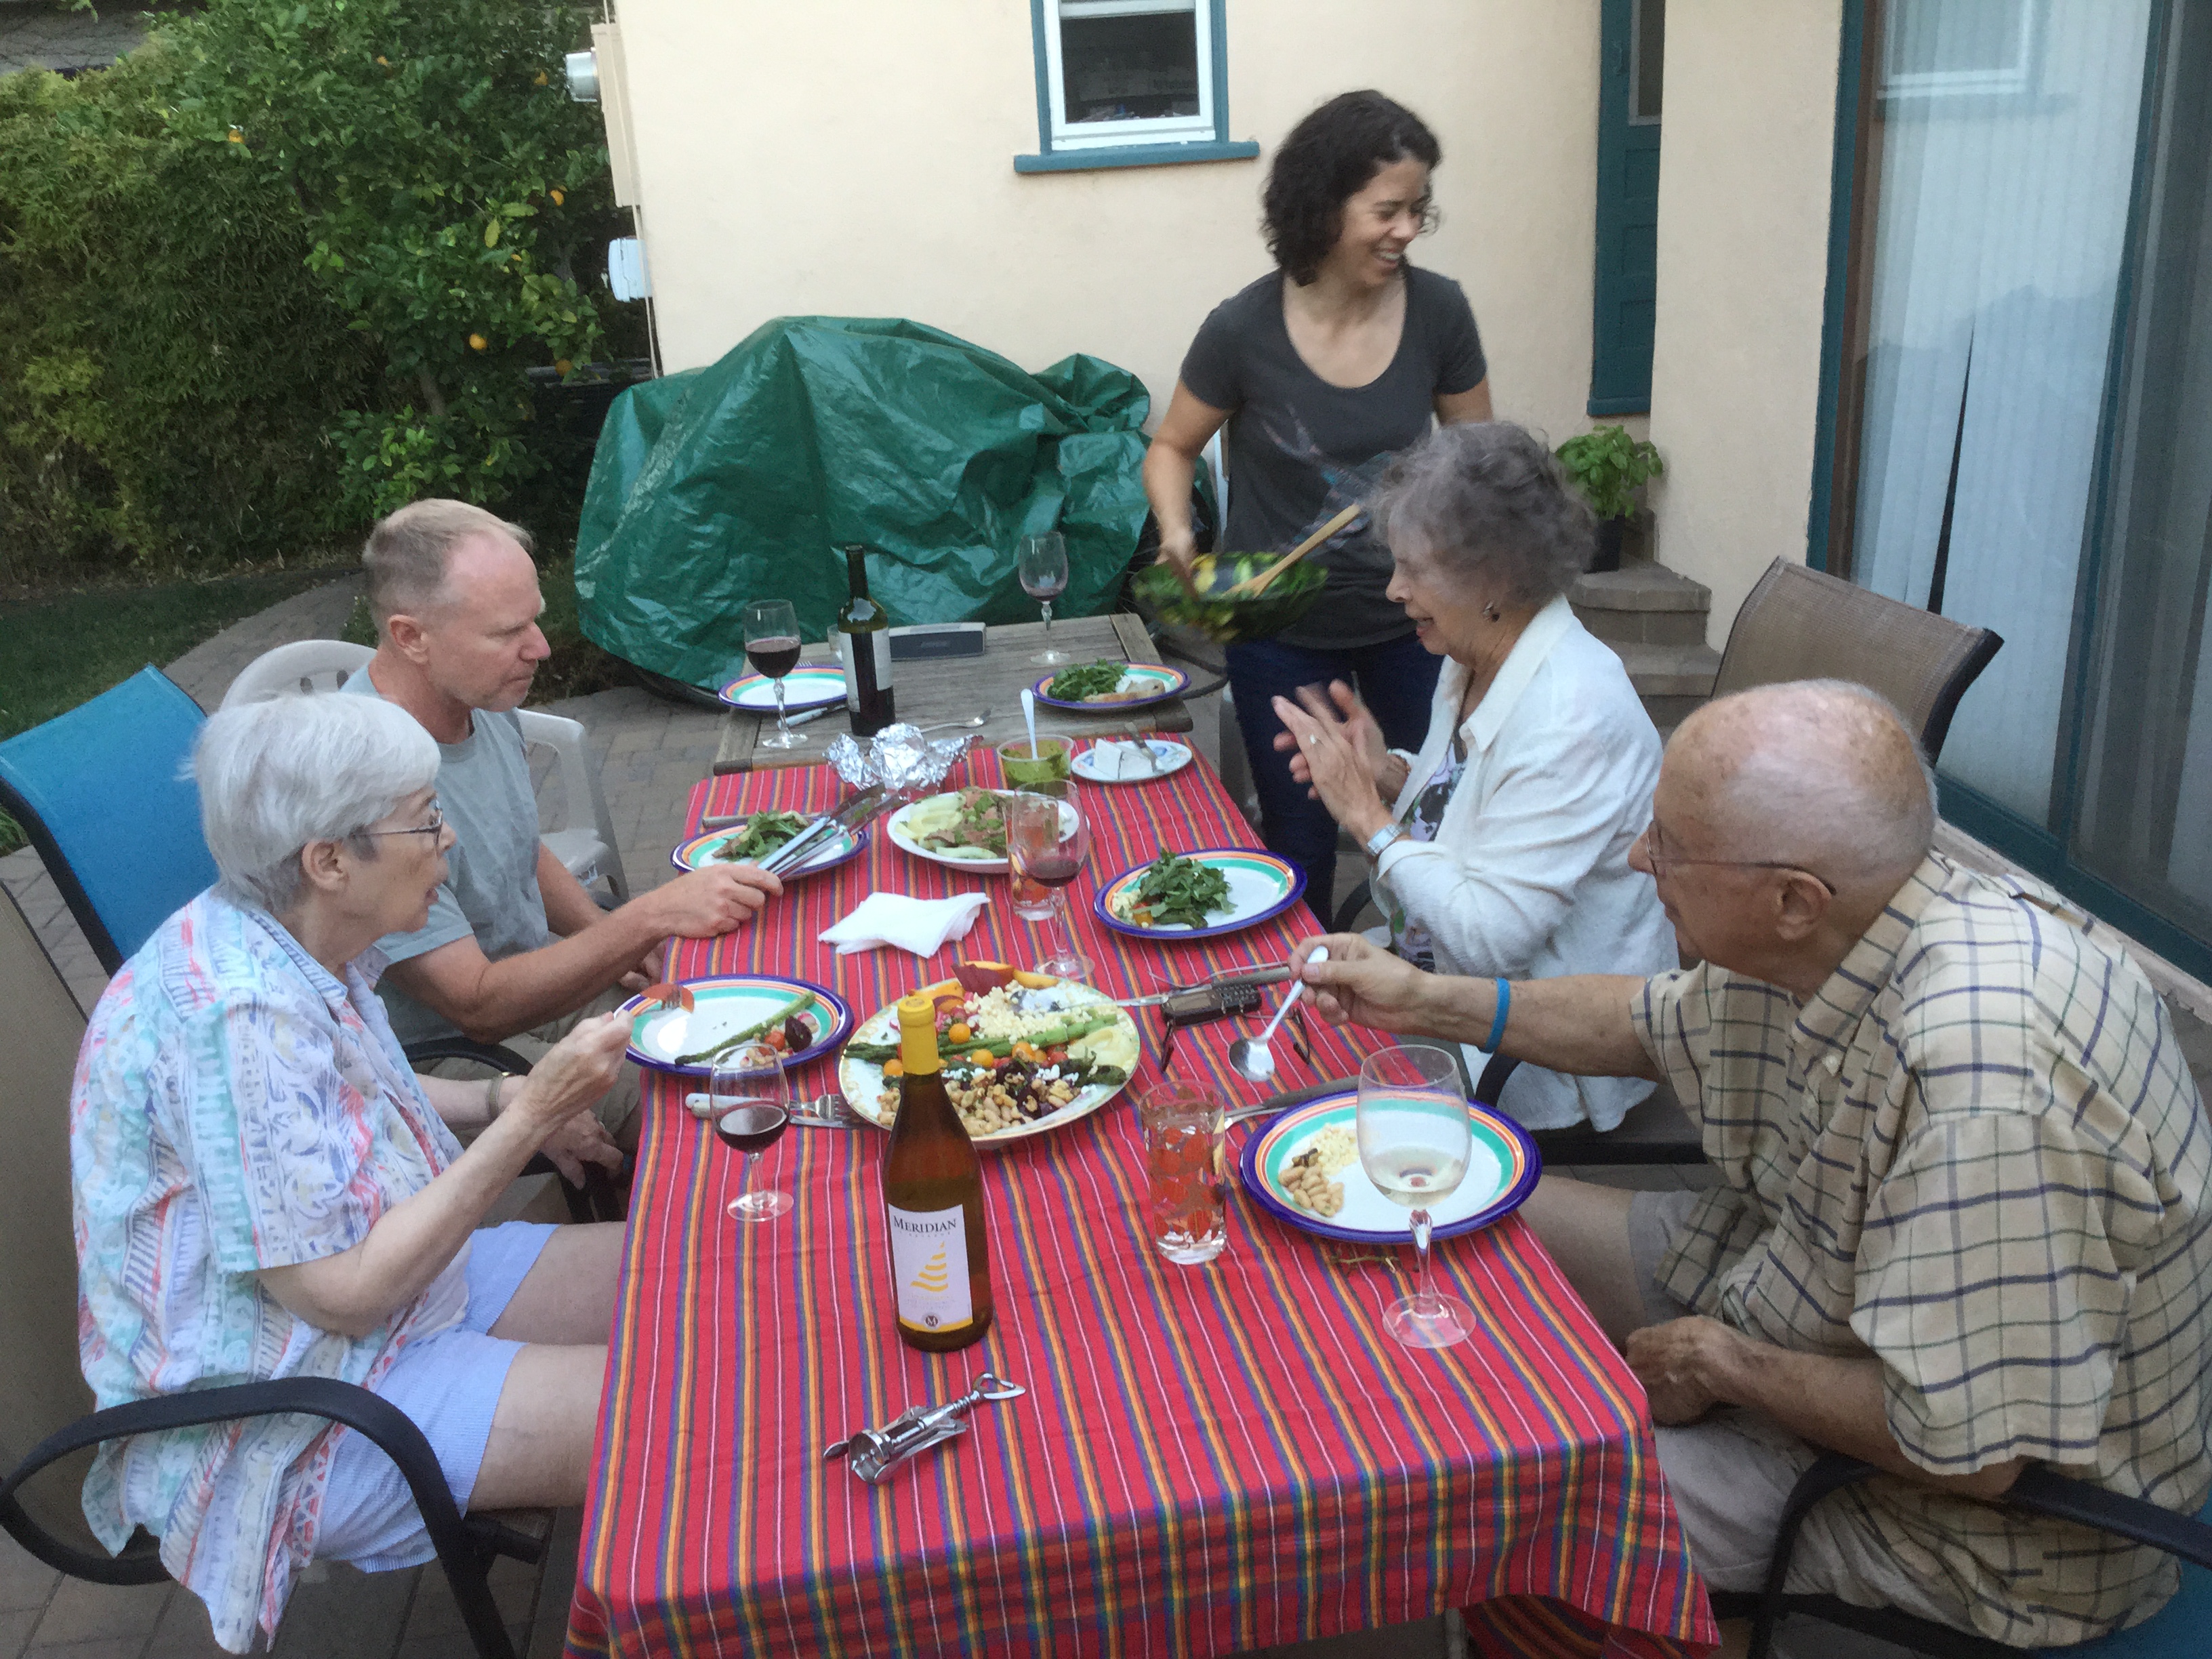
Sara, right, is the hostess with the mostess while Ben and the older generation dig in. (Ben’s editorial note: Thanks for including me with the older generation). Older people don’t like arugula as much as my generation. They like quiche, soup, and meatloaf. (From Ben: I like gruel and mush of all kinds.) But I digress.
Sometimes relentless cushion sewing requires a little break for art therapy. This birthday card for a friend was created using 40-year-old construction paper, still in the same cabinet we used for art supplies as kids. What would you put in the speech bubble? Are you wondering why there isn’t a cat in the picture? Does the image foreshadow anything about our future? Where will we go shopping next? Stay tuned!